I’m still pursuing my expansion into doing some real estate photography. I find it fun and relaxing, it’s similar to doing the detail shots and venue pictures at a wedding, which I always enjoy. My main problem is that I’m very particular and take too many pictures. It ends up taking me too much time for the typical prices people are willing to pay for real estate photography. I’m going to have to learn to be faster and more efficient at taking and post processing the pictures. This is the same thing I had to learn for weddings and family portraits as well.
Quick tip about saving post processing time
When shooting with a very wide-angle lens like my Sigma 18-35mm that I use for real estate pictures, I always get a lot of distortion. This can be corrected in Lightroom using the guided transform feature. You just drag selection lines on horizontal and vertical features of the image. For example, the corner lines of walls or ceilings. Sometimes even the auto setting will work. If you are taking the pictures at an angle, for example from the corner of a room, you can only correct on the vertical/upright lines of the walls. Something I’m more careful about now, when taking the pictures, I watch the distortion through the camera lens. Then I move up and down, or left and right, until I can reduce it as much as possible in camera. This really helps save time later when processing the pictures.
Tip – Do not disable motion detection on the Theta Z1 DualFisheye Plugin
Many real estate photographers doing 360 degree walkthroughs use the Theta Z1 camera. This produces the highest quality 360 pictures you can get, without using a DSLR and panorama head. The DualFisheye plugin makes taking the pictures slower, but it produces much higher quality hdr dng images. There is a feature in the DualFisheye remote plugin to turn off motion detection. Since the plugin is taking 9 images and combining them, if anything moves, it will cause issues. I thought, since there is nothing moving in my pictures, I would disable the motion detection. I would now recommend to never do this!
If you disable the motion detection in the DualFisheye plugin, anything that changes at all between pictures in the bracketed exposures, will cause bright purple spots wherever there was movement. And when I say movement I mean anything, for example leaves slightly moving on a tree, or even the light changing slightly as it filters through a window. Thankfully, even when taking DualFisheye pictures, it also saves the original one shot dng. I had to use the one shot dng instead of the DualFisheye hdr image for most of my outside images because of the purple splotching. For the inside pictures I was able to fix everything I needed in Affinity Photo. So, just don’t disable motion detection! It causes a lot of problems and I see no benefit to doing it.
360 Walkthrough of classic home in Florence, SC
Here is the completed 360 walkthrough. I use Affinity Photo to do touch-ups to the 360 pictures, for example removing the nadir, and touching up stitching errors. It’s much better for this than Photoshop. Then I put together the walkthrough using Kuula.
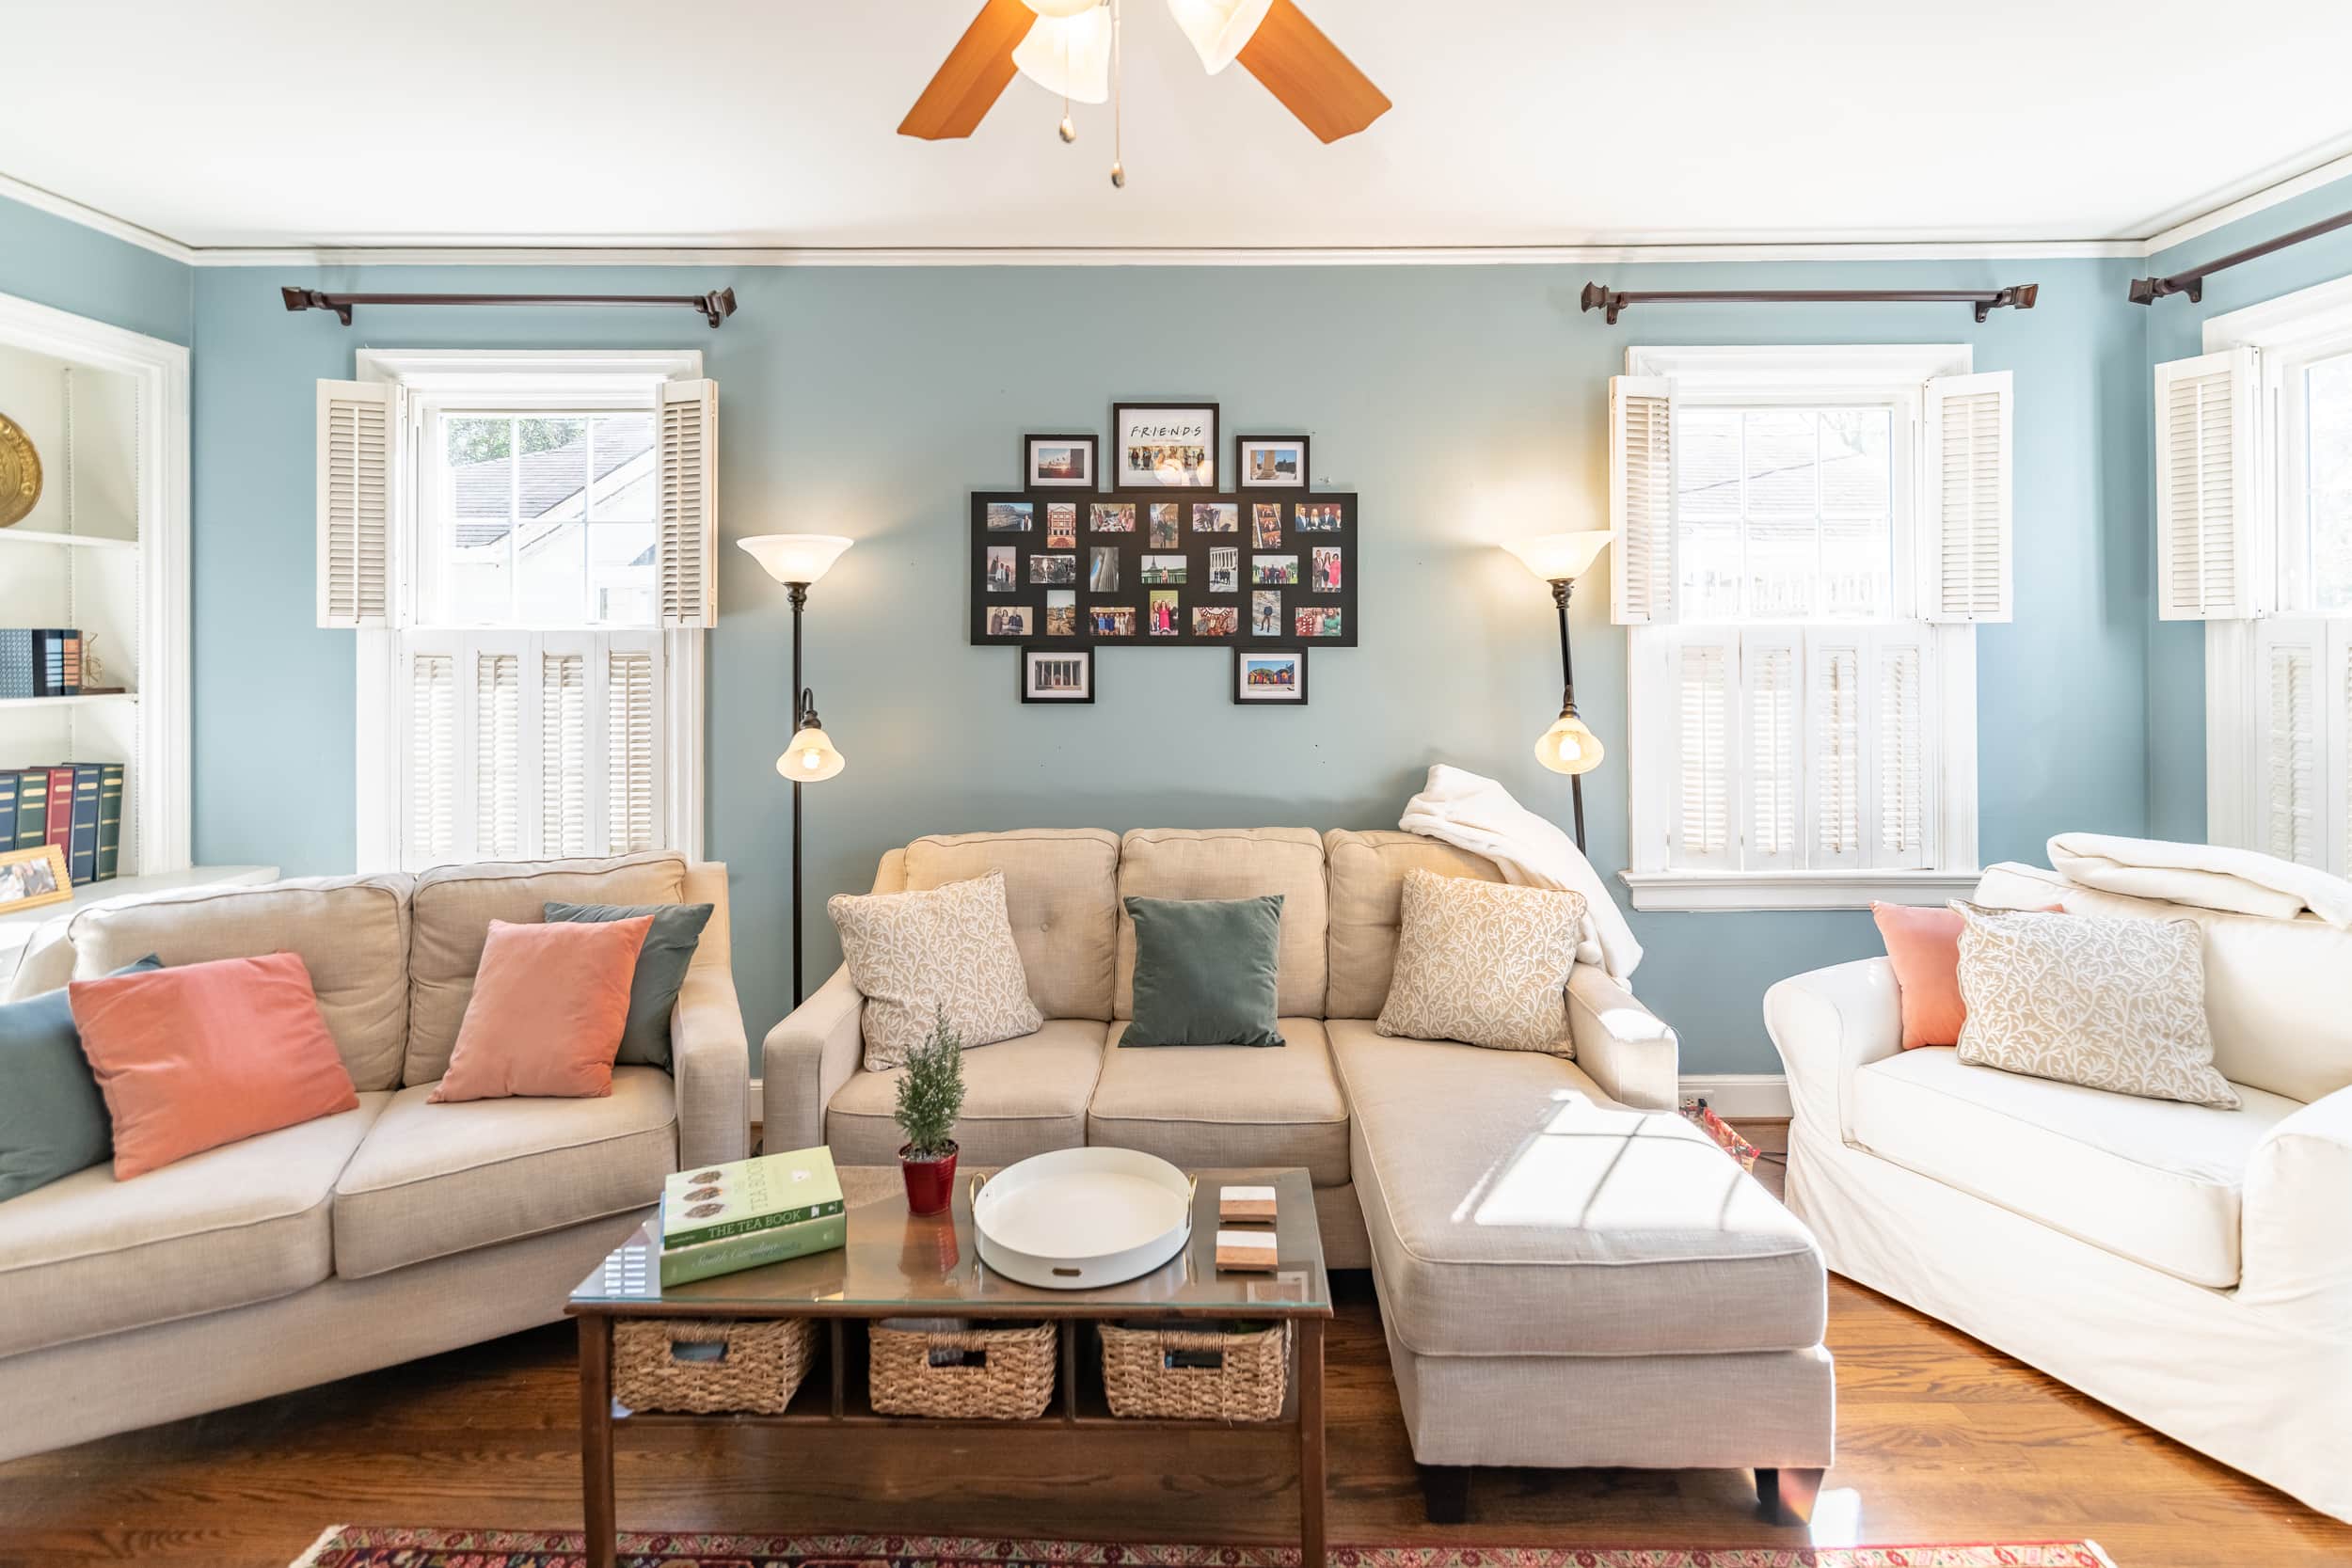
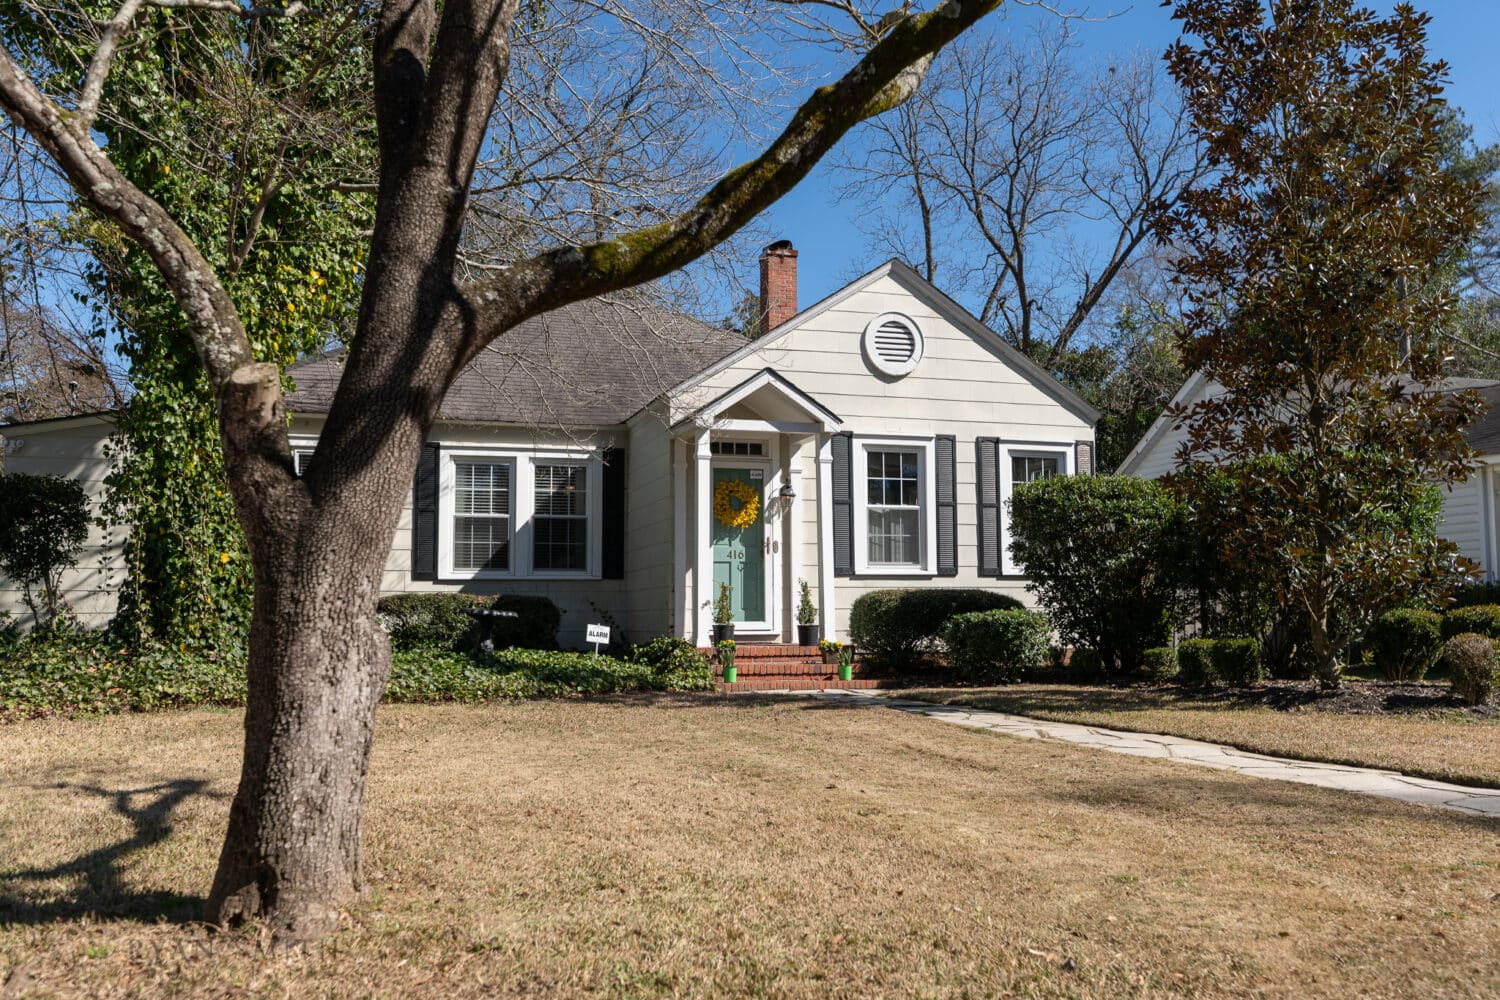
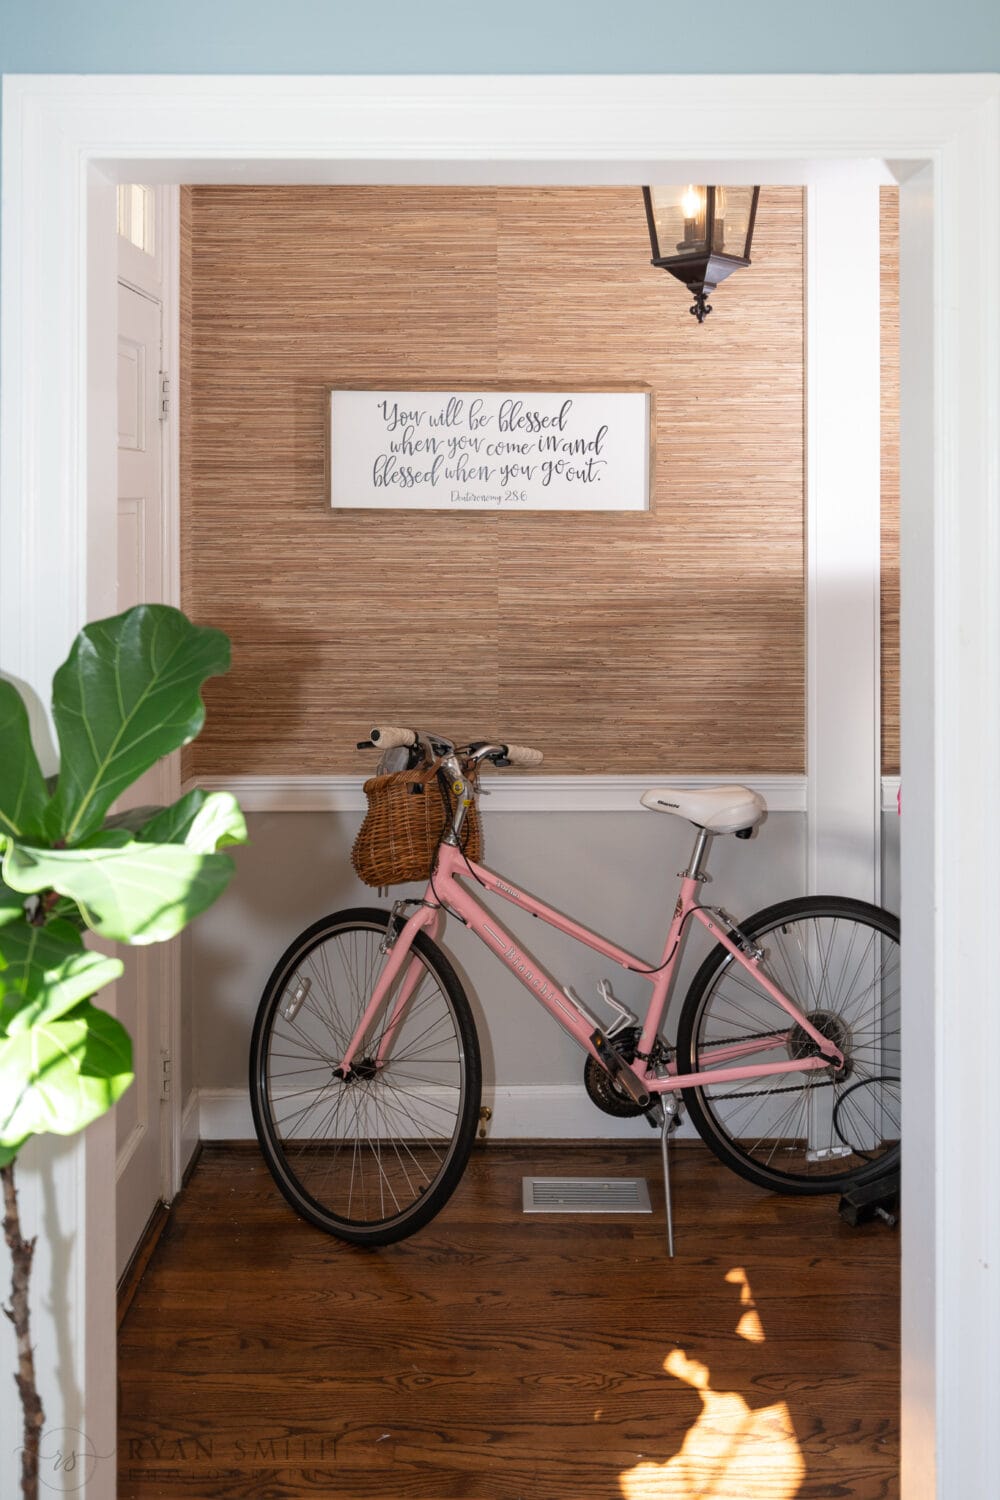
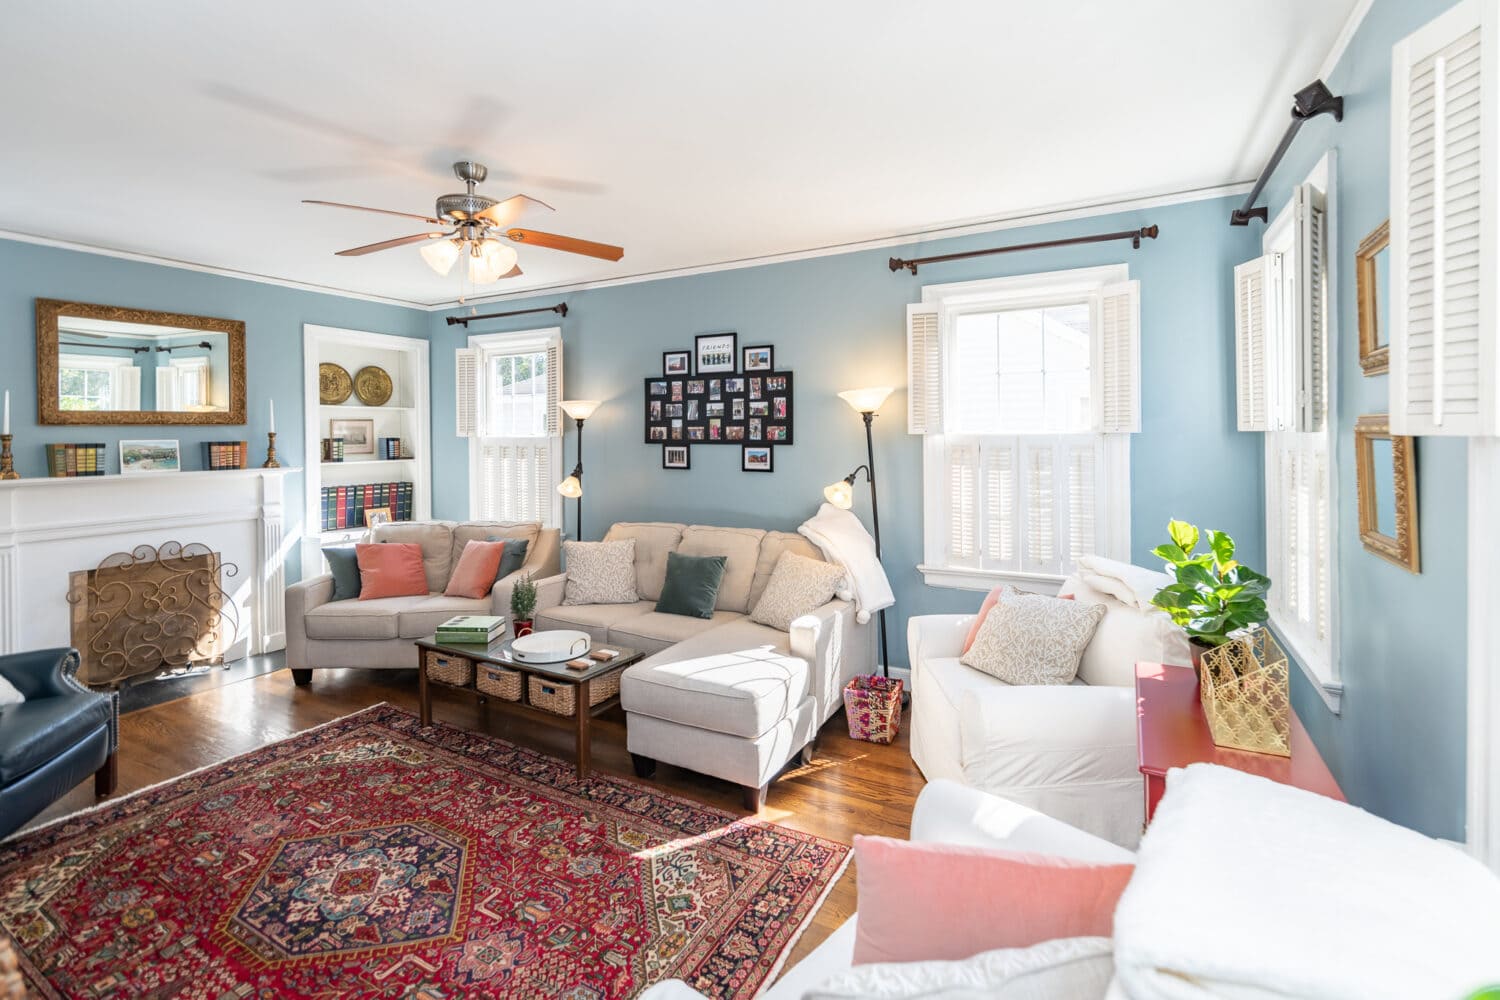
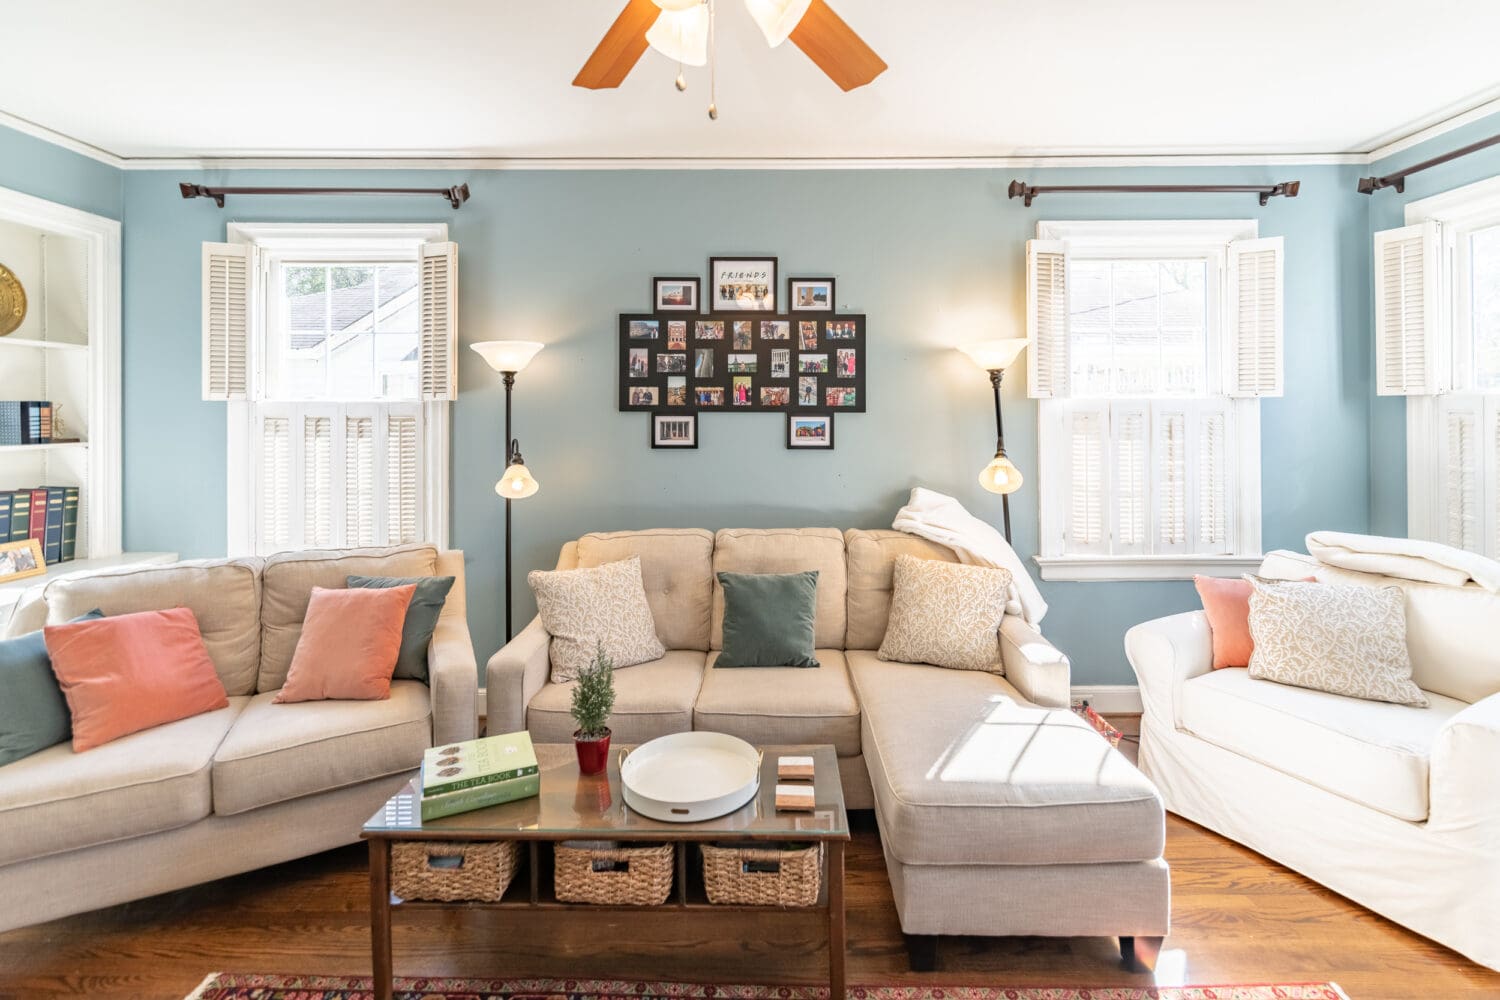
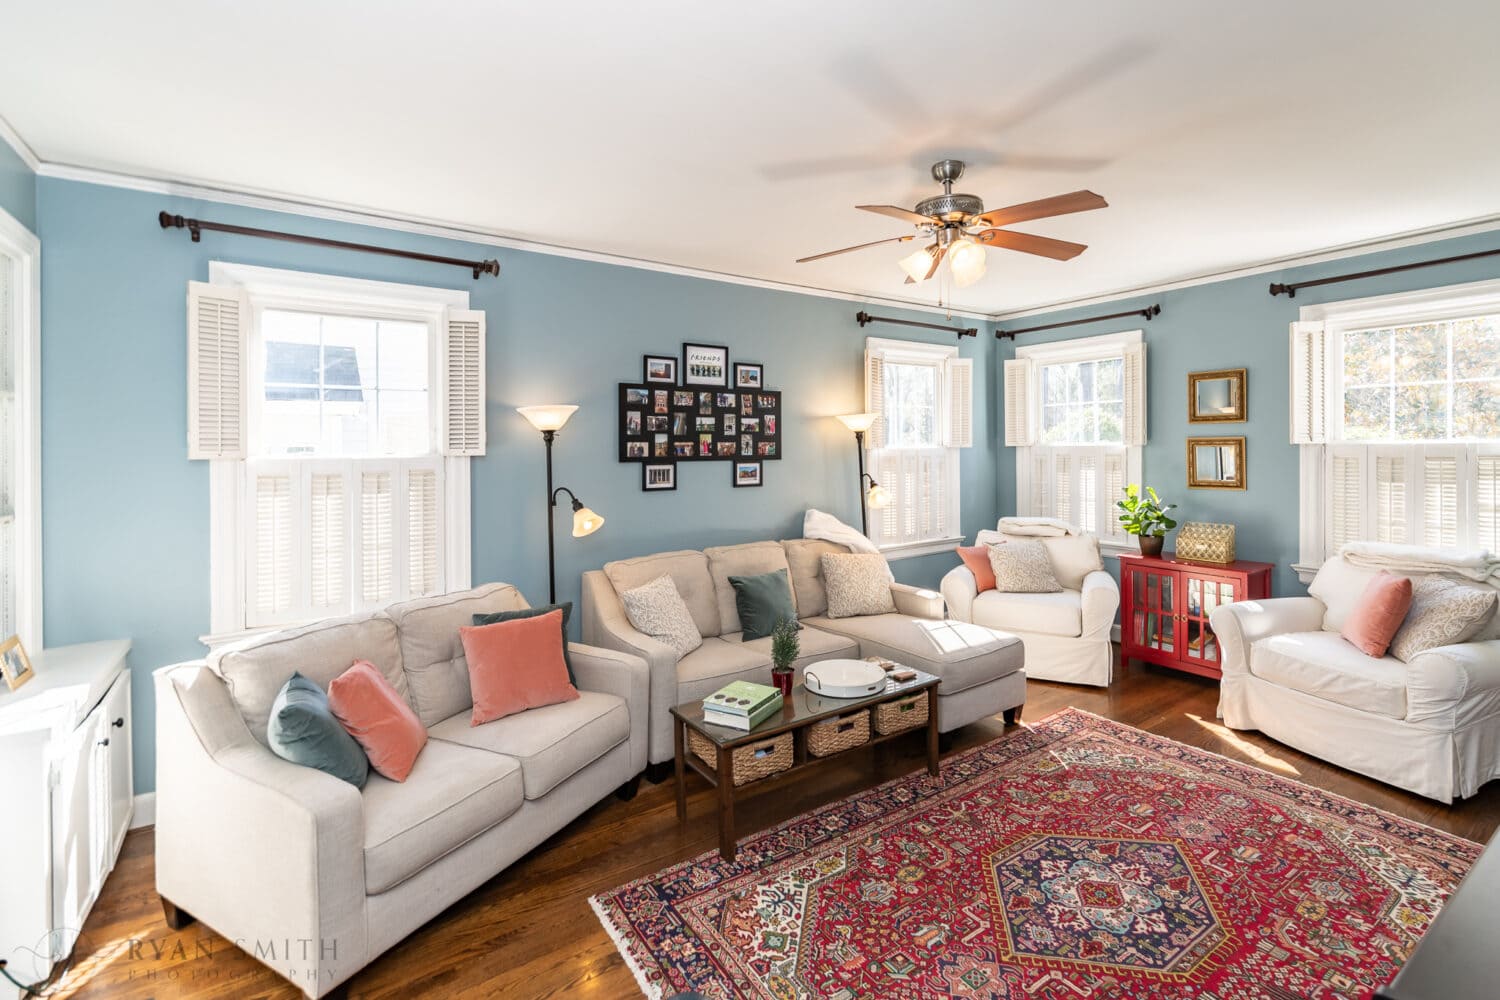
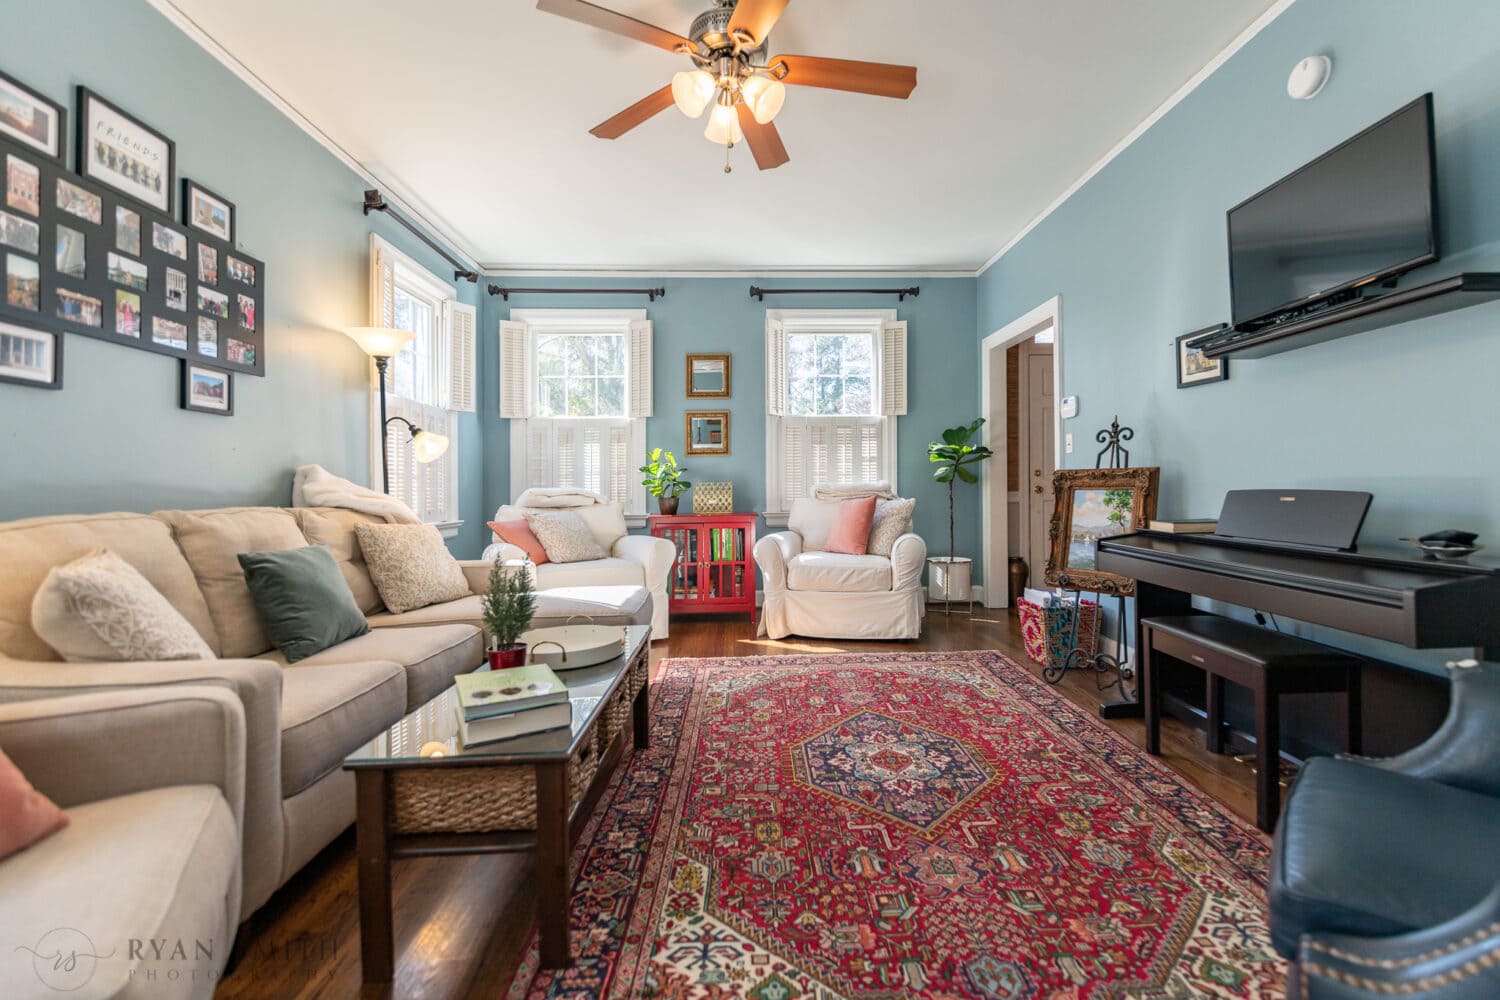
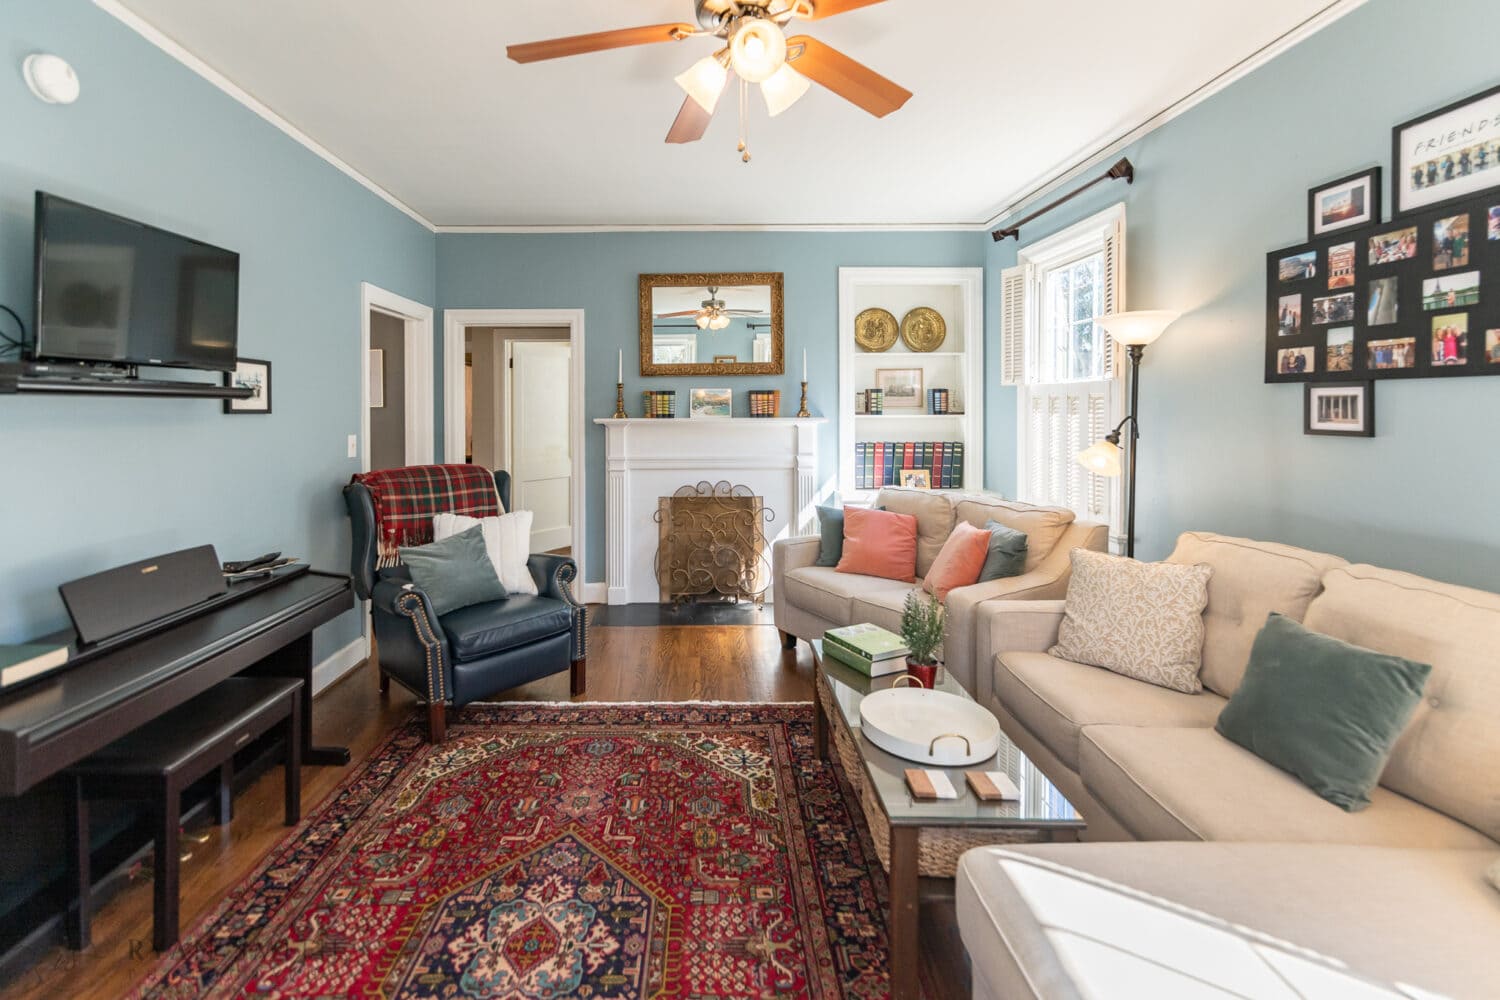
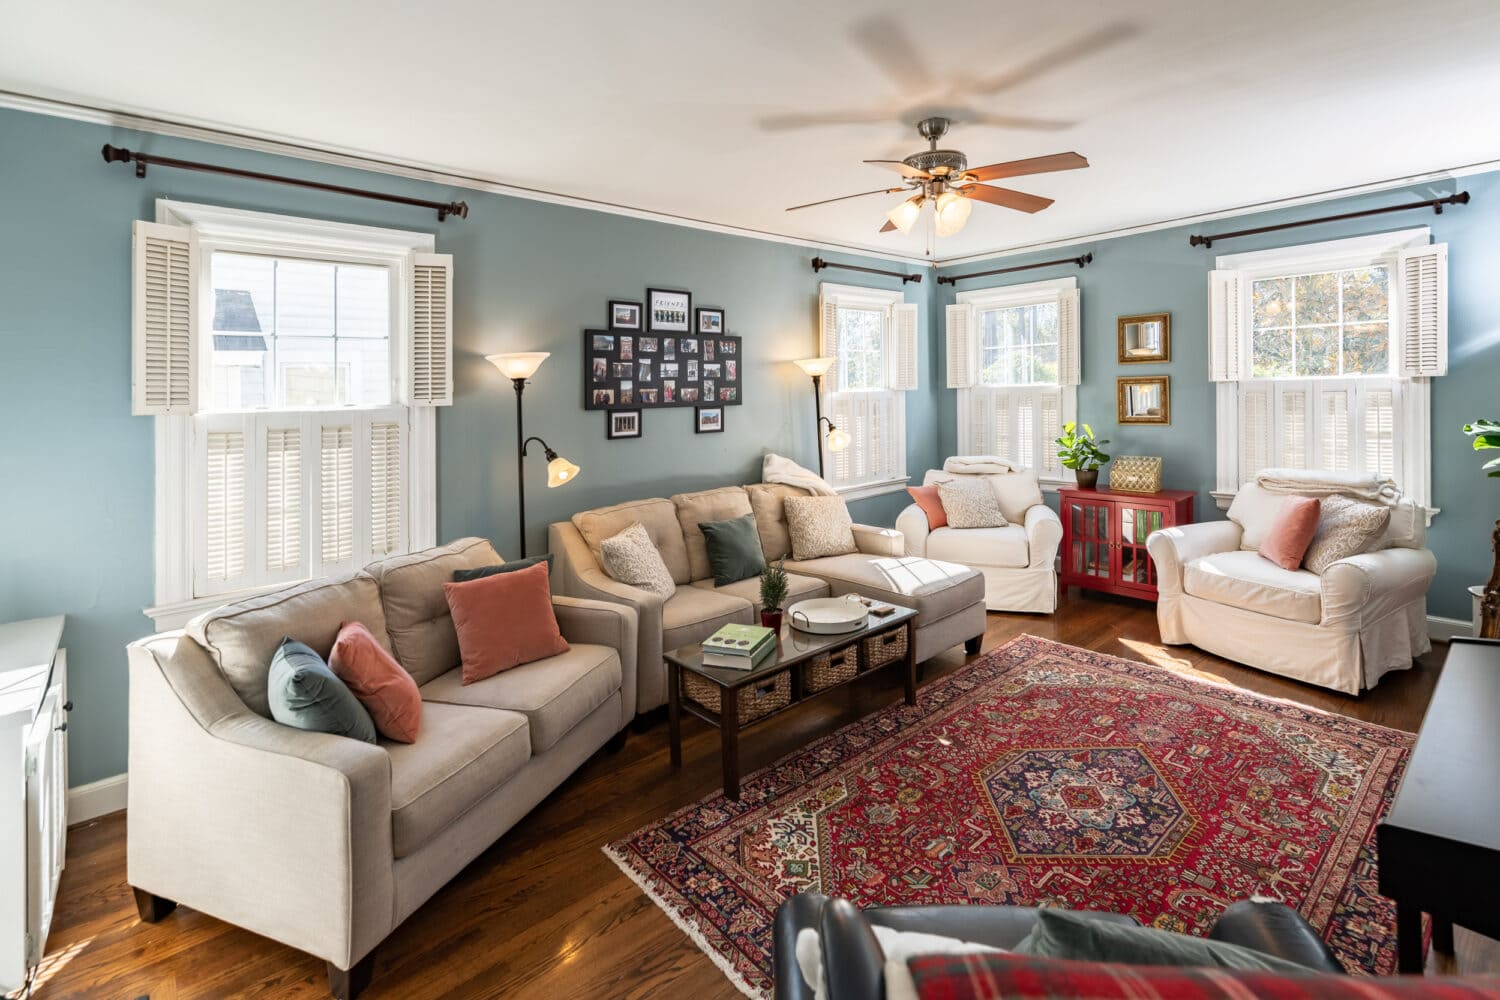
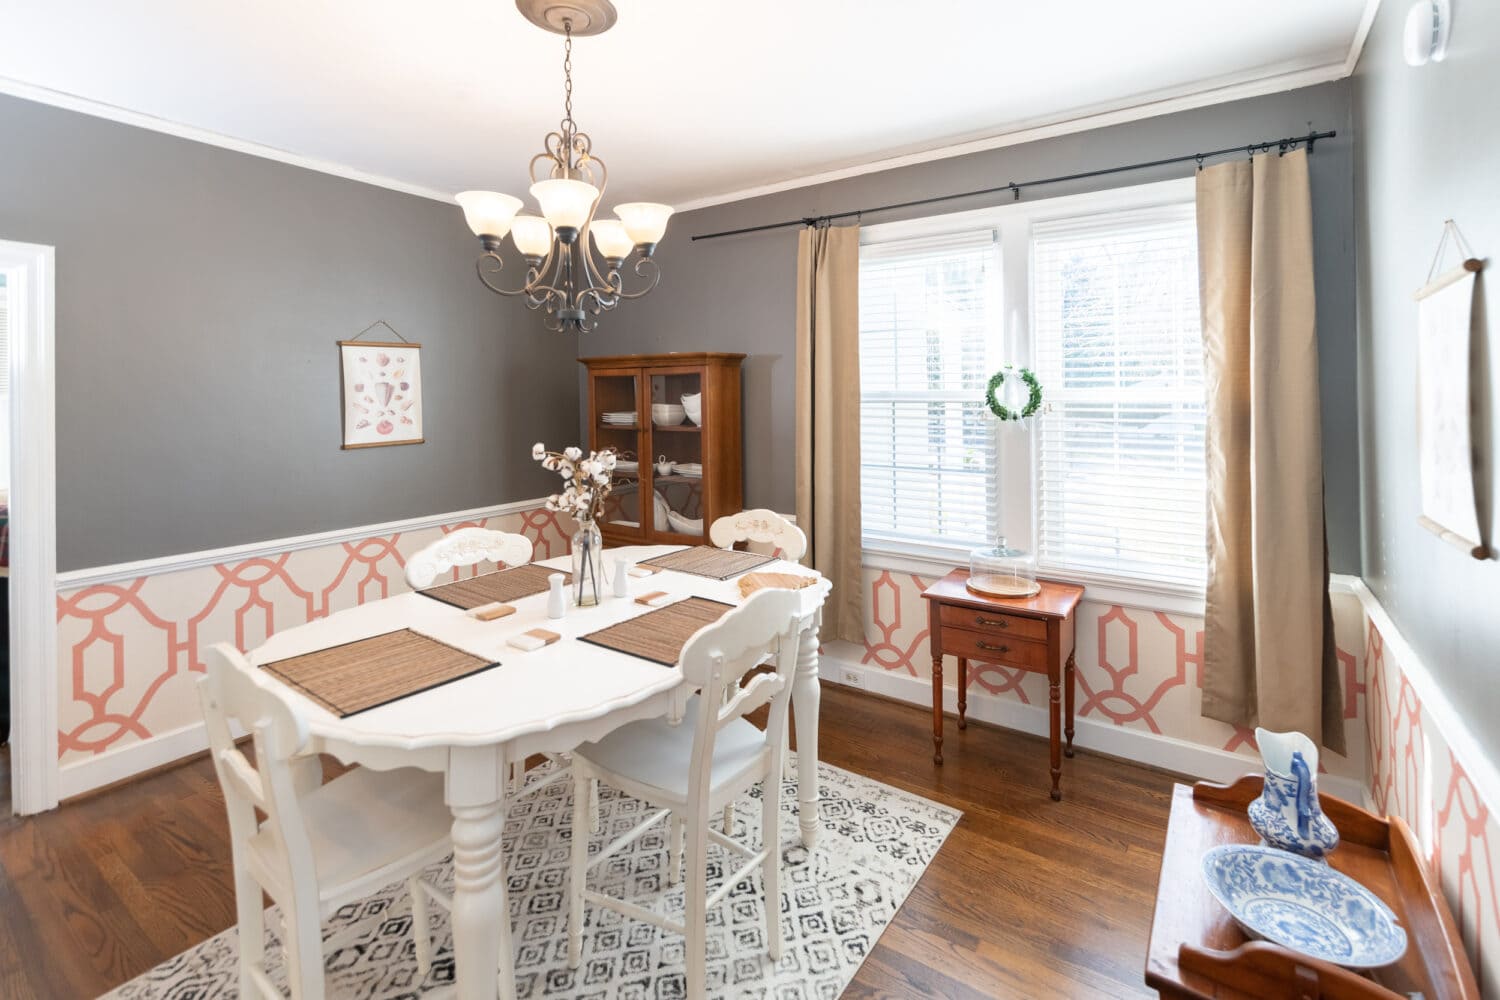
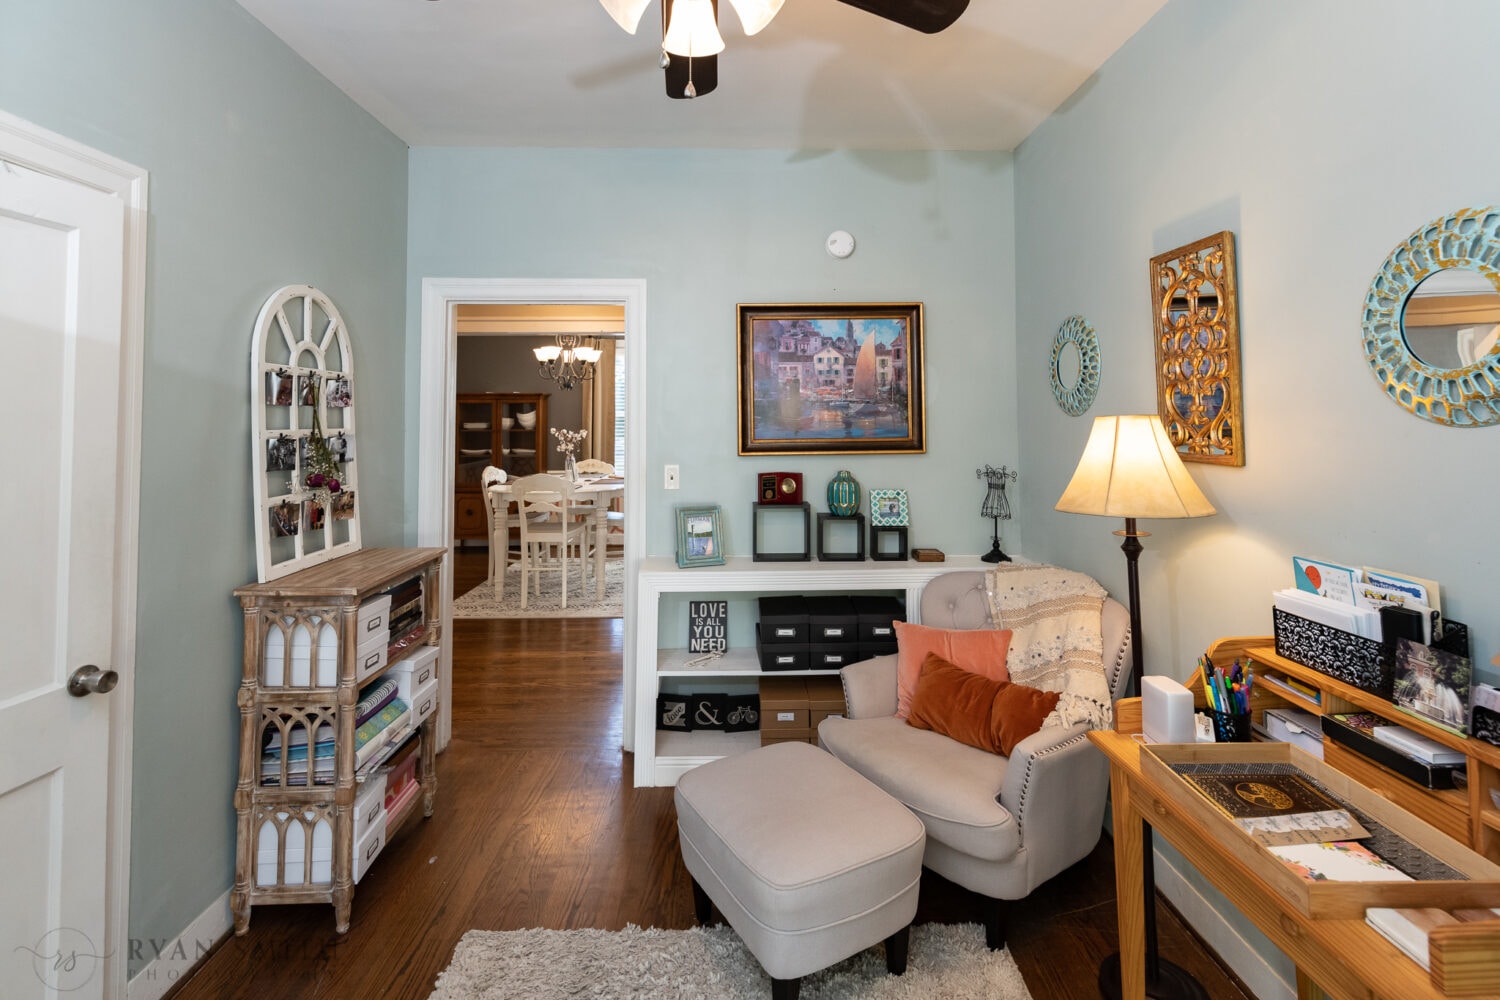
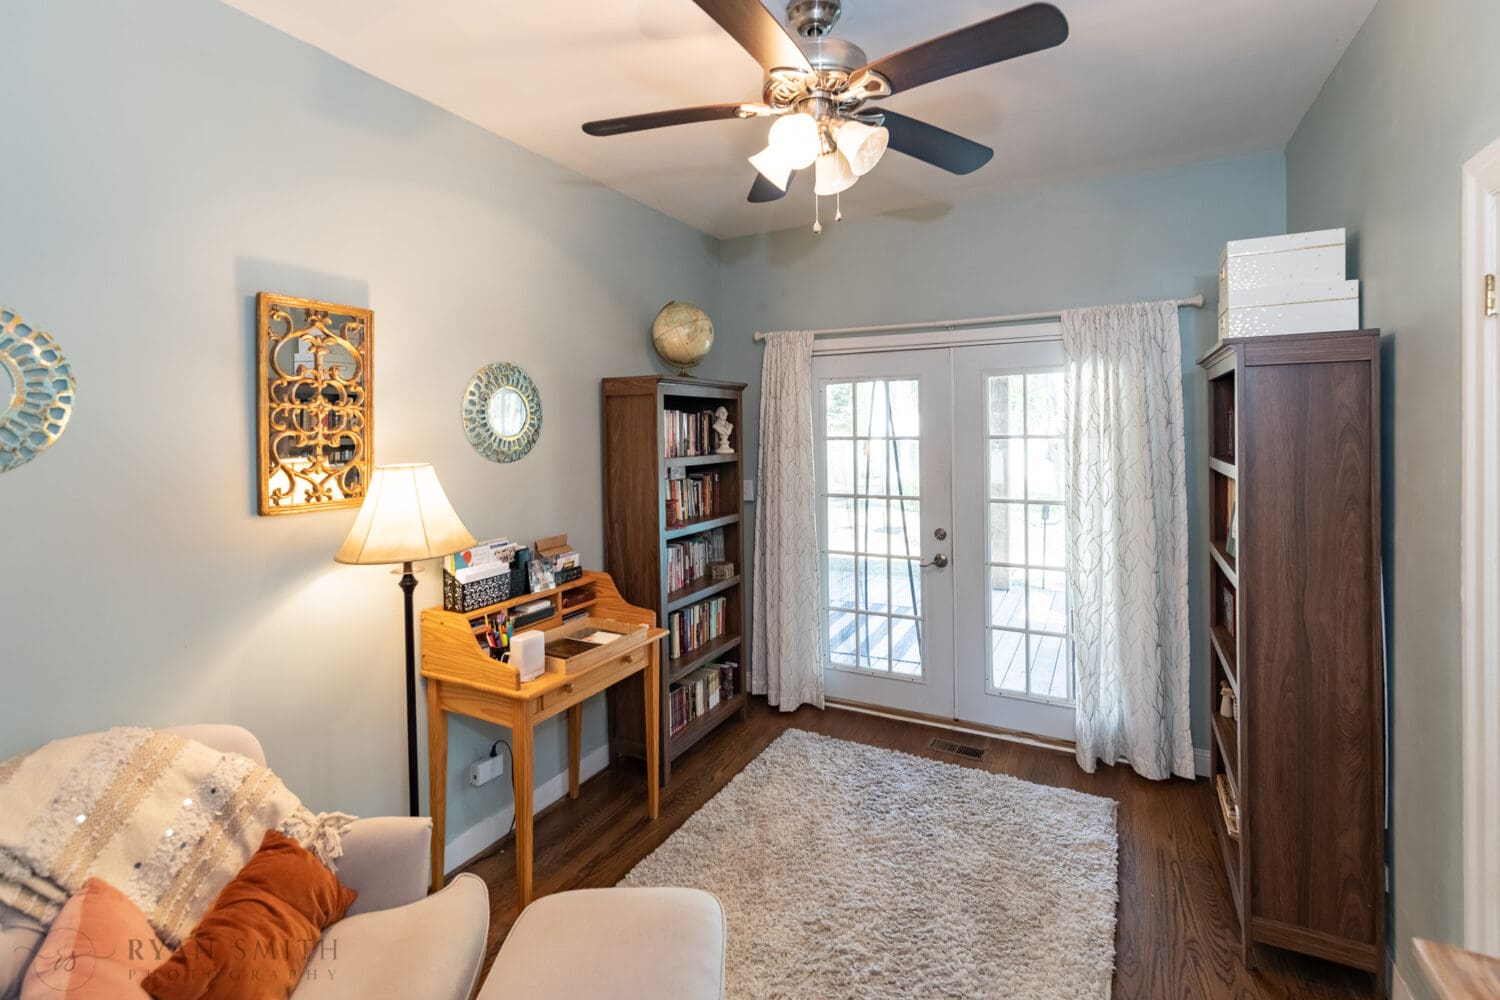
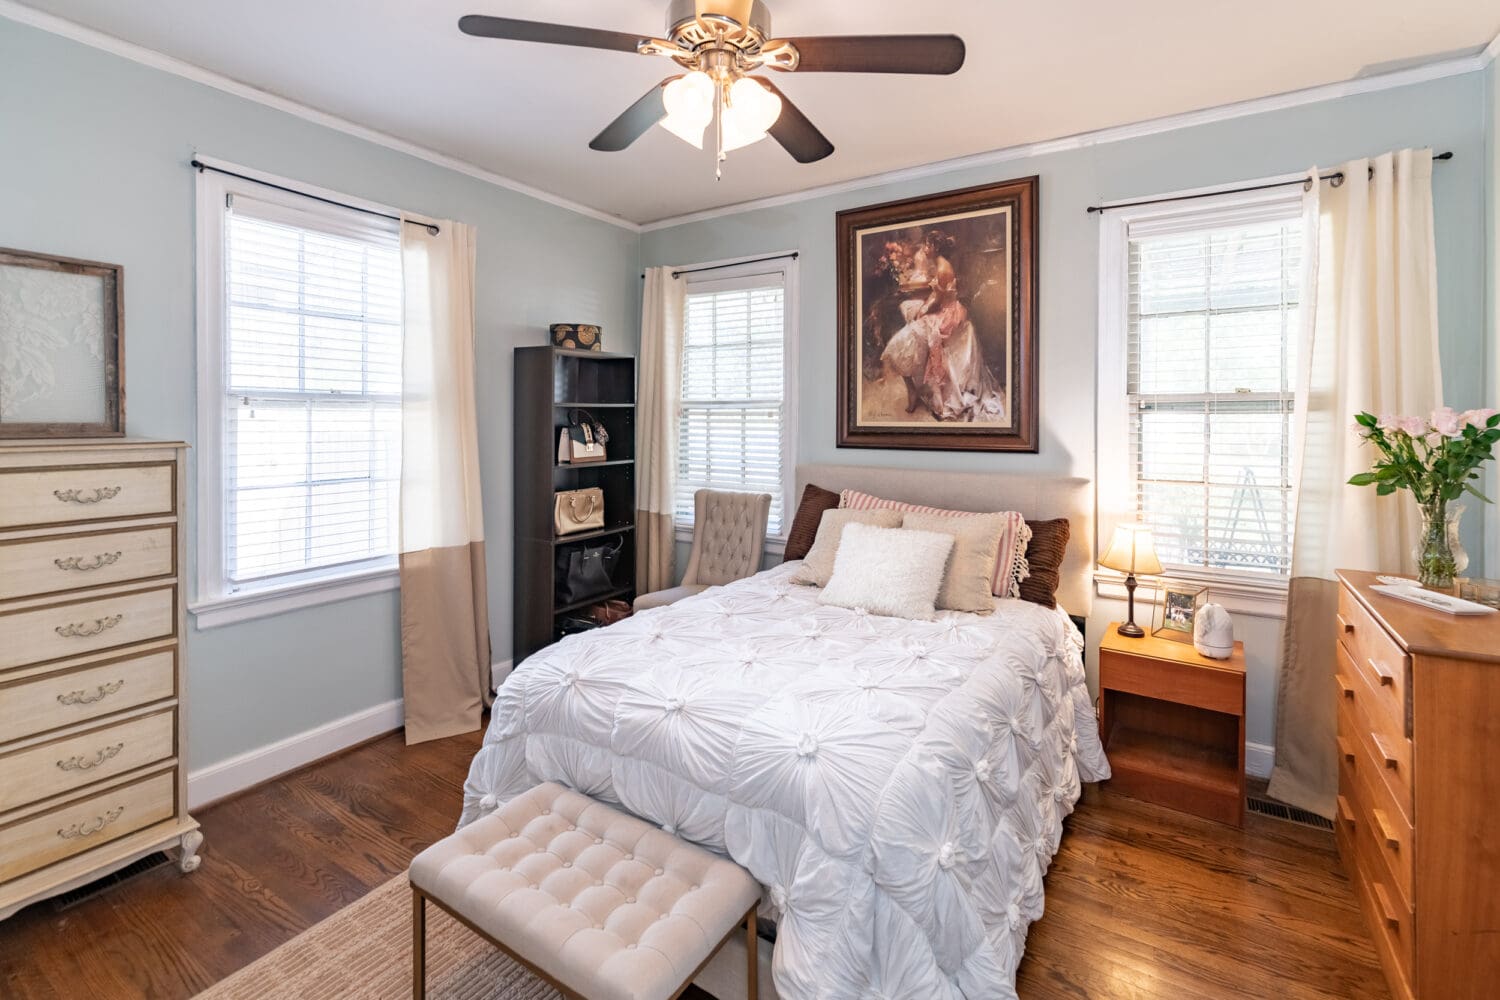
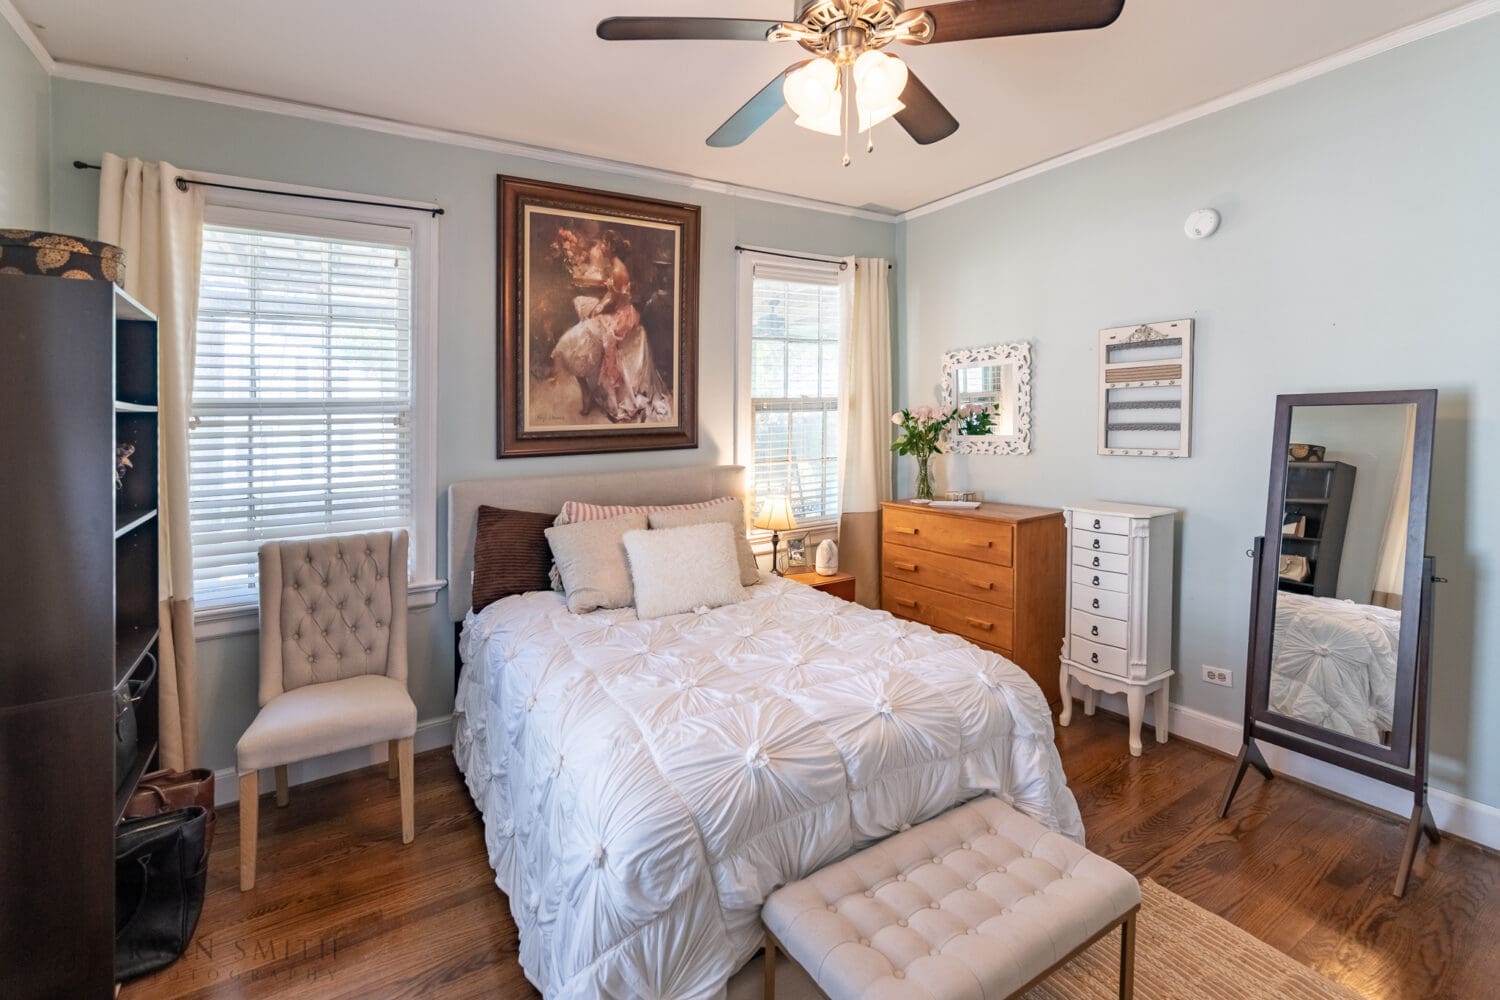
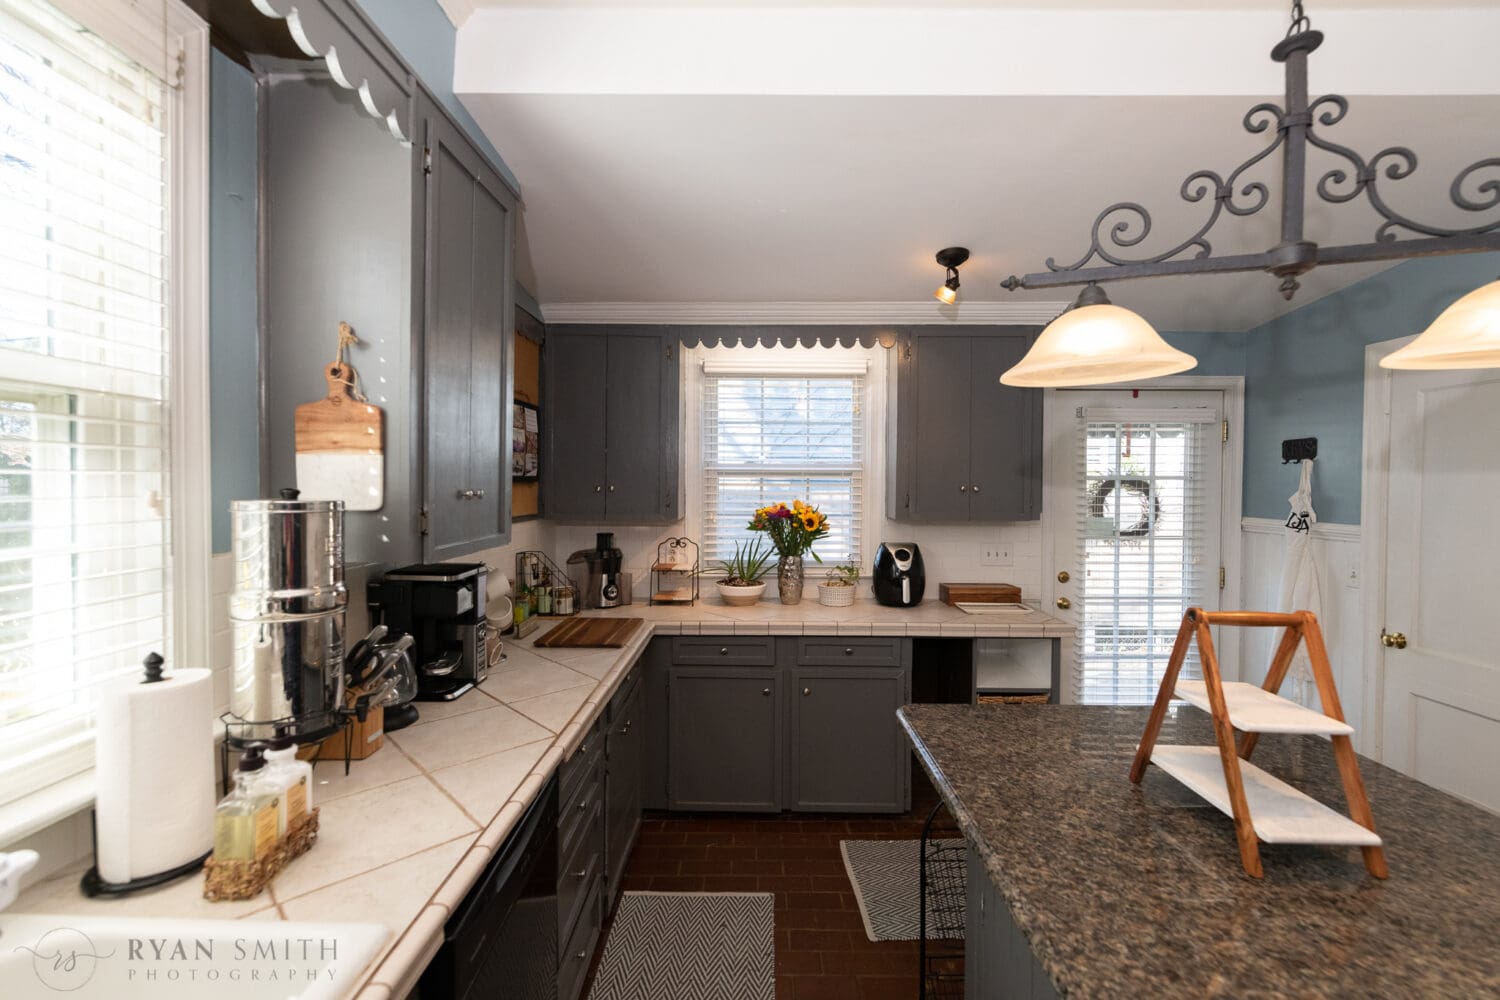
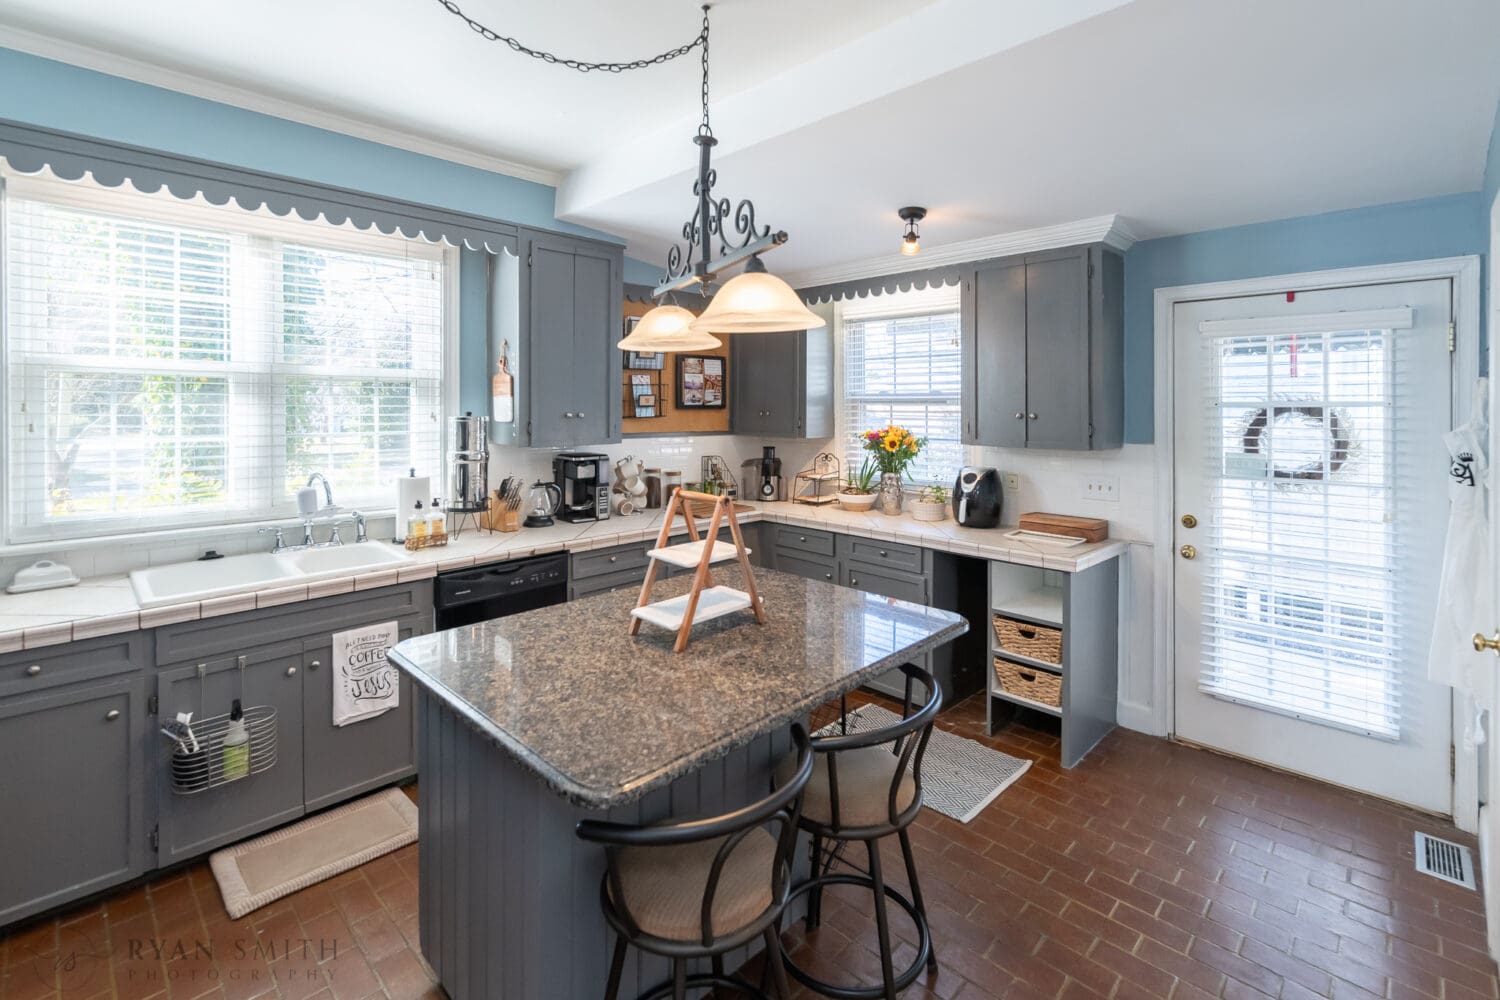
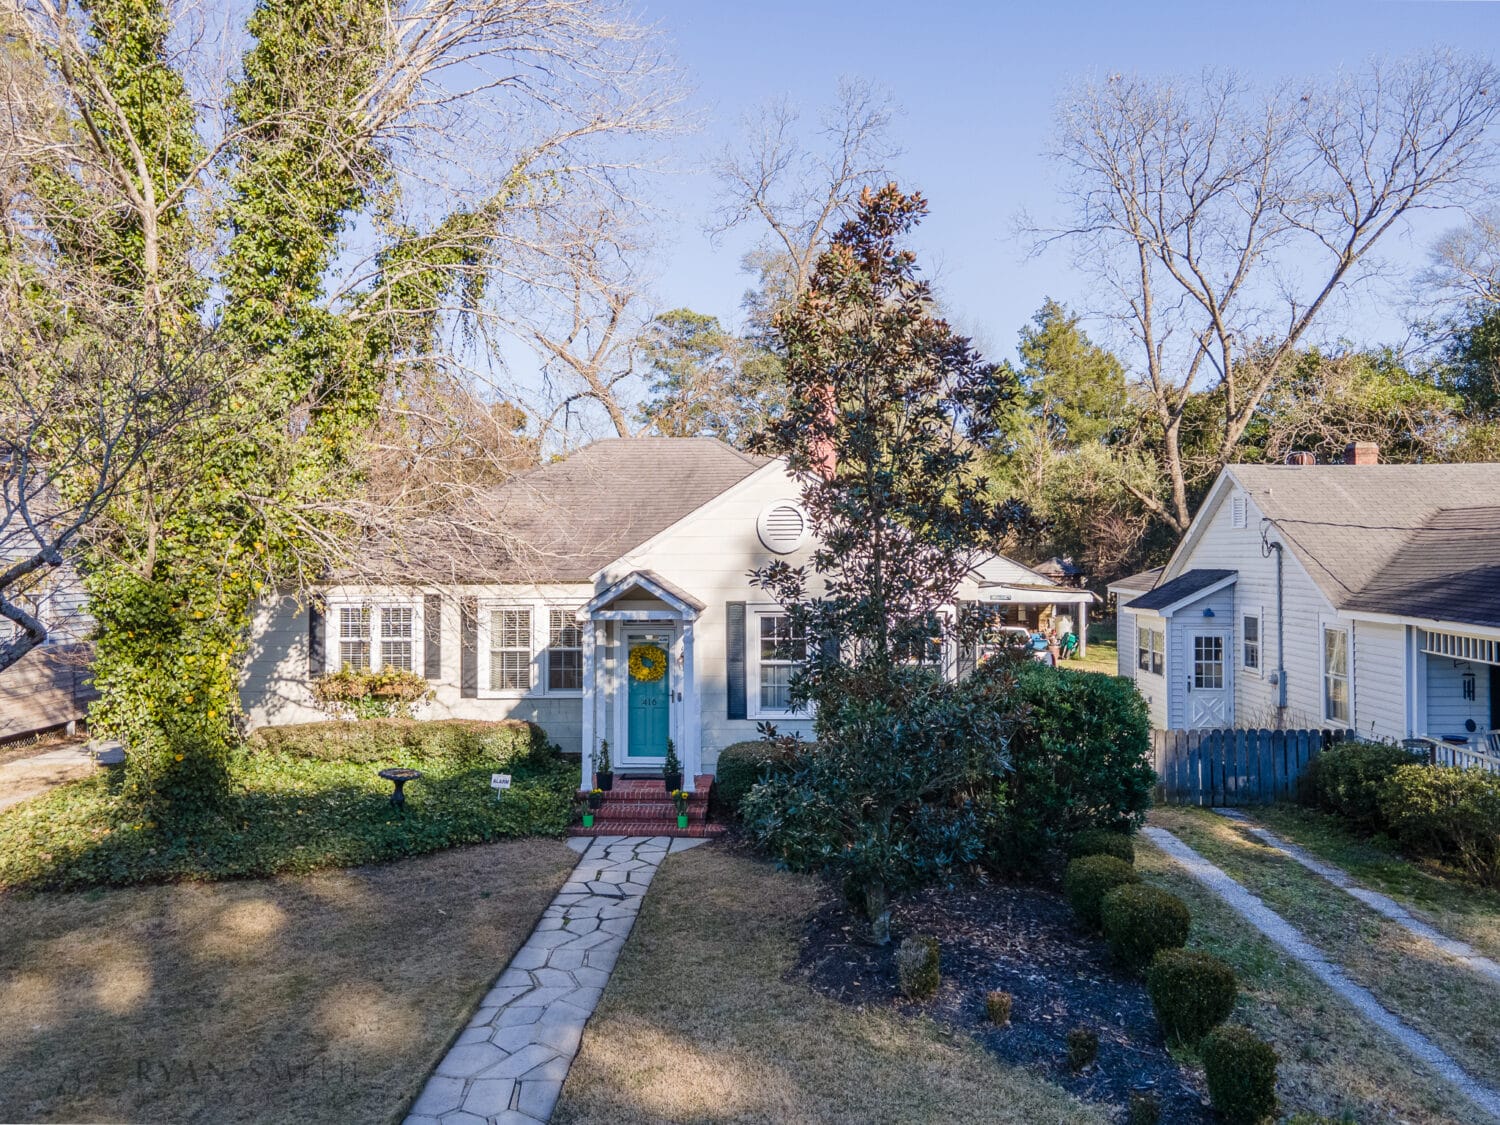
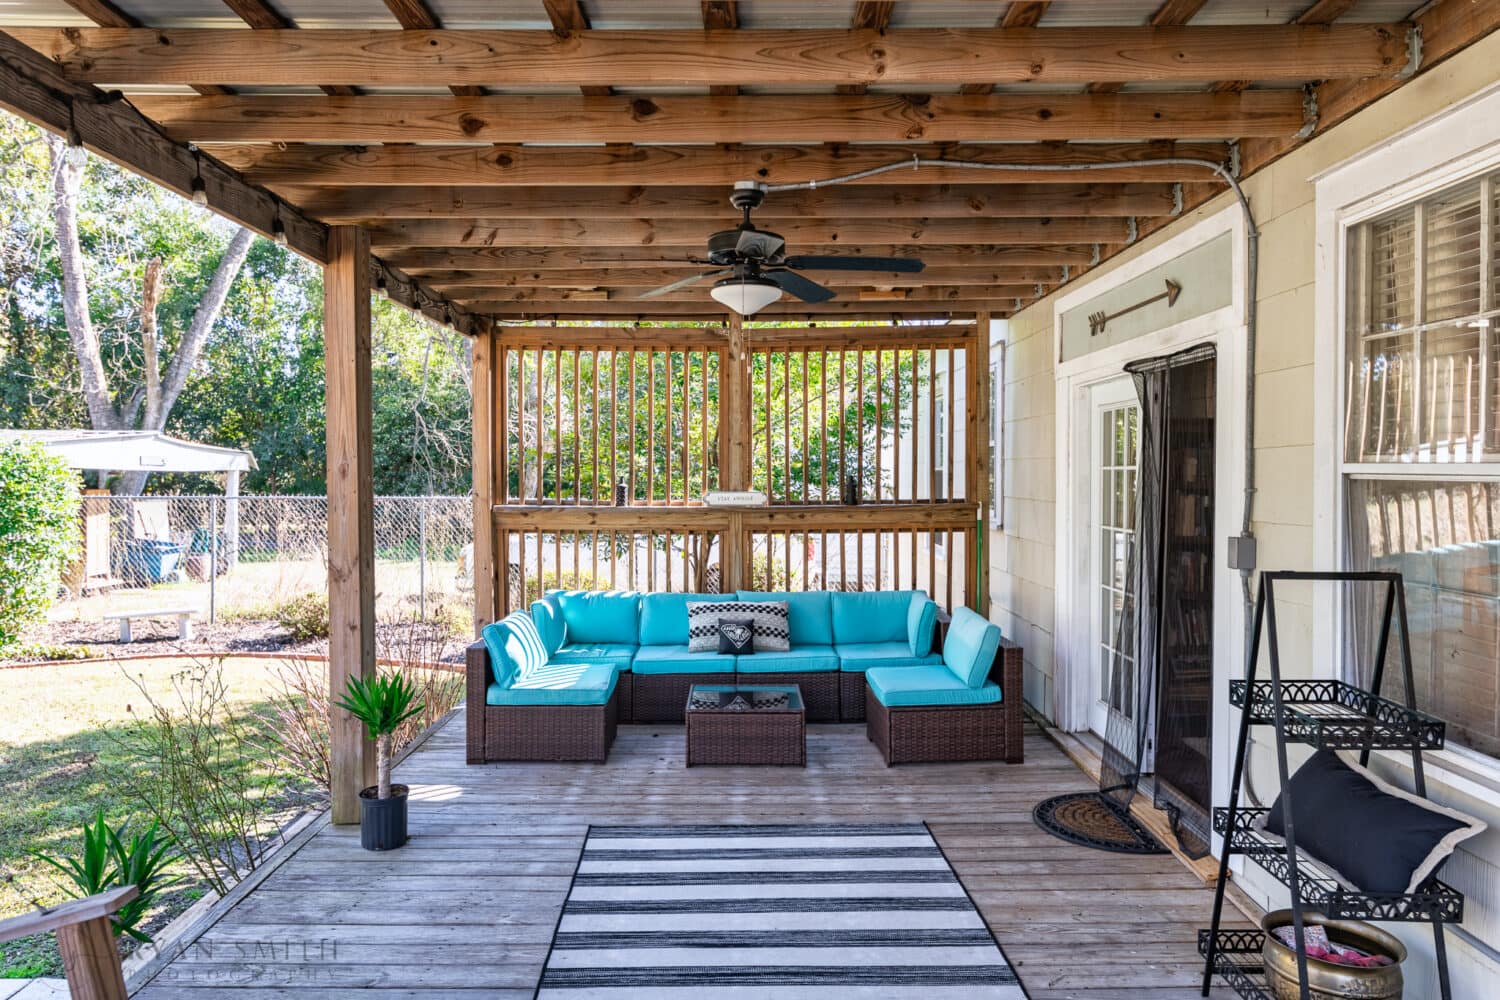
Real estate photos of the beautiful small home with lots of windows
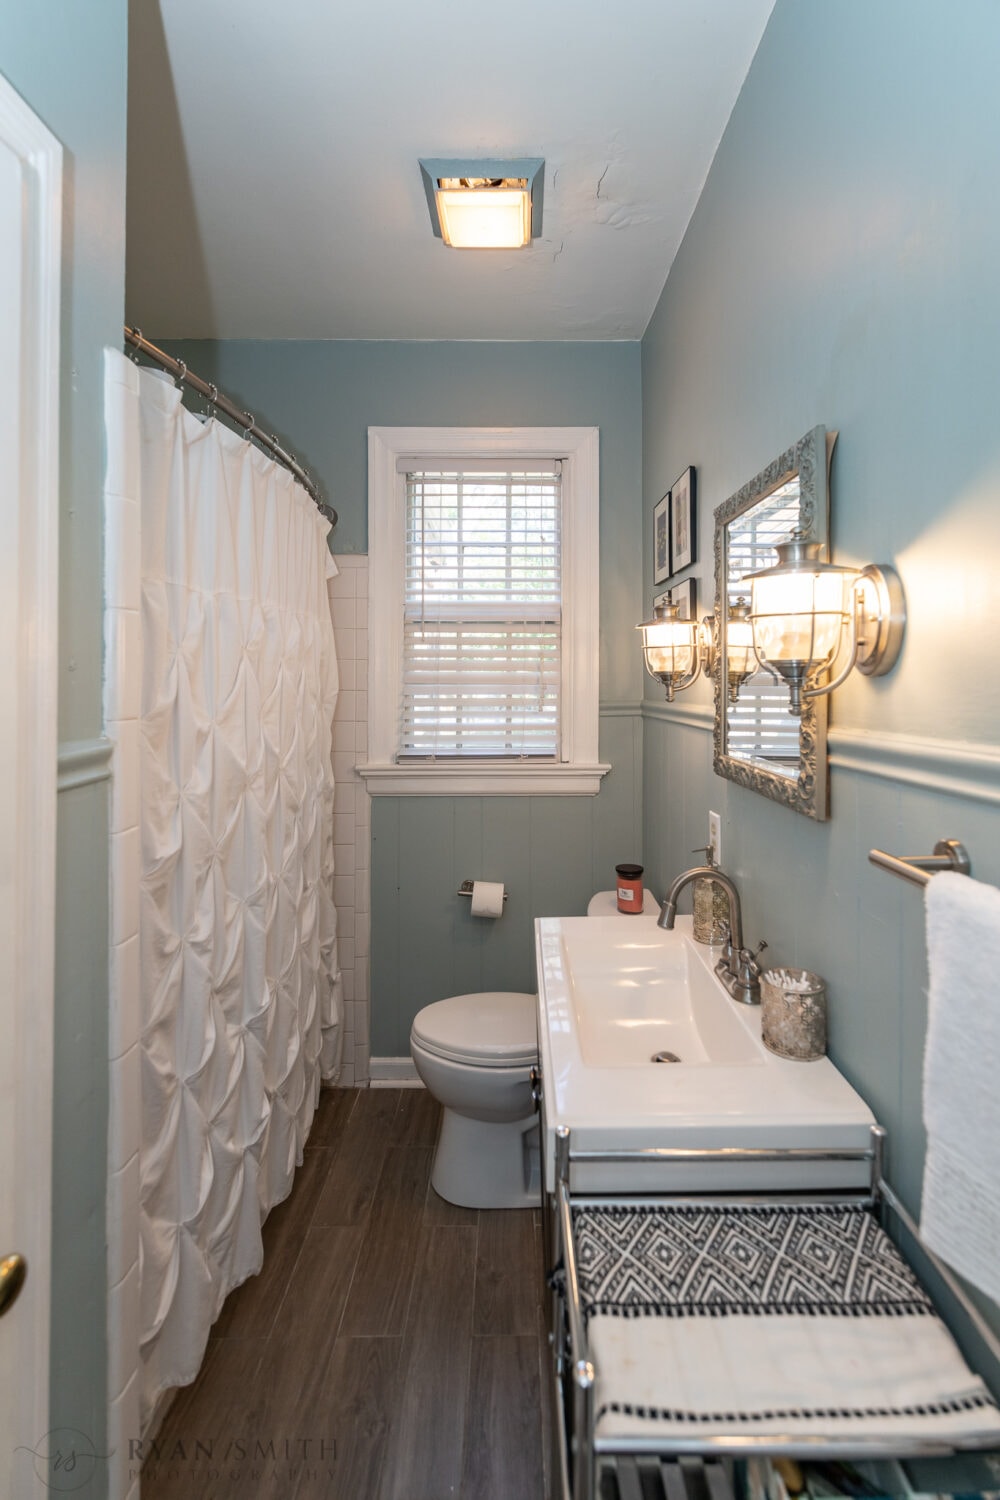
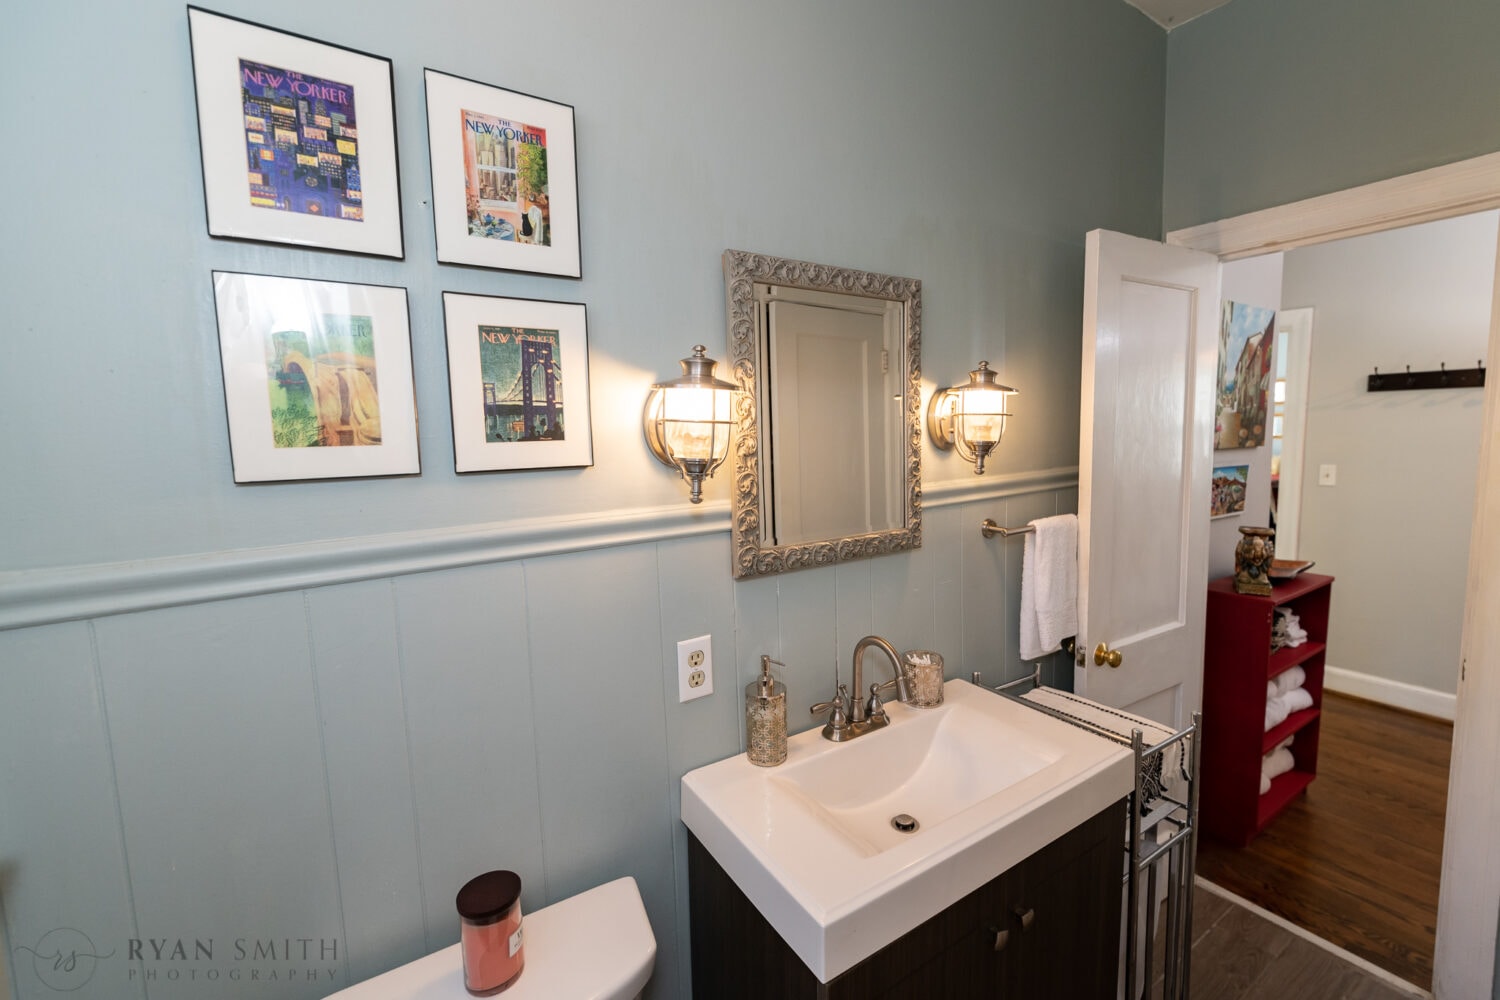
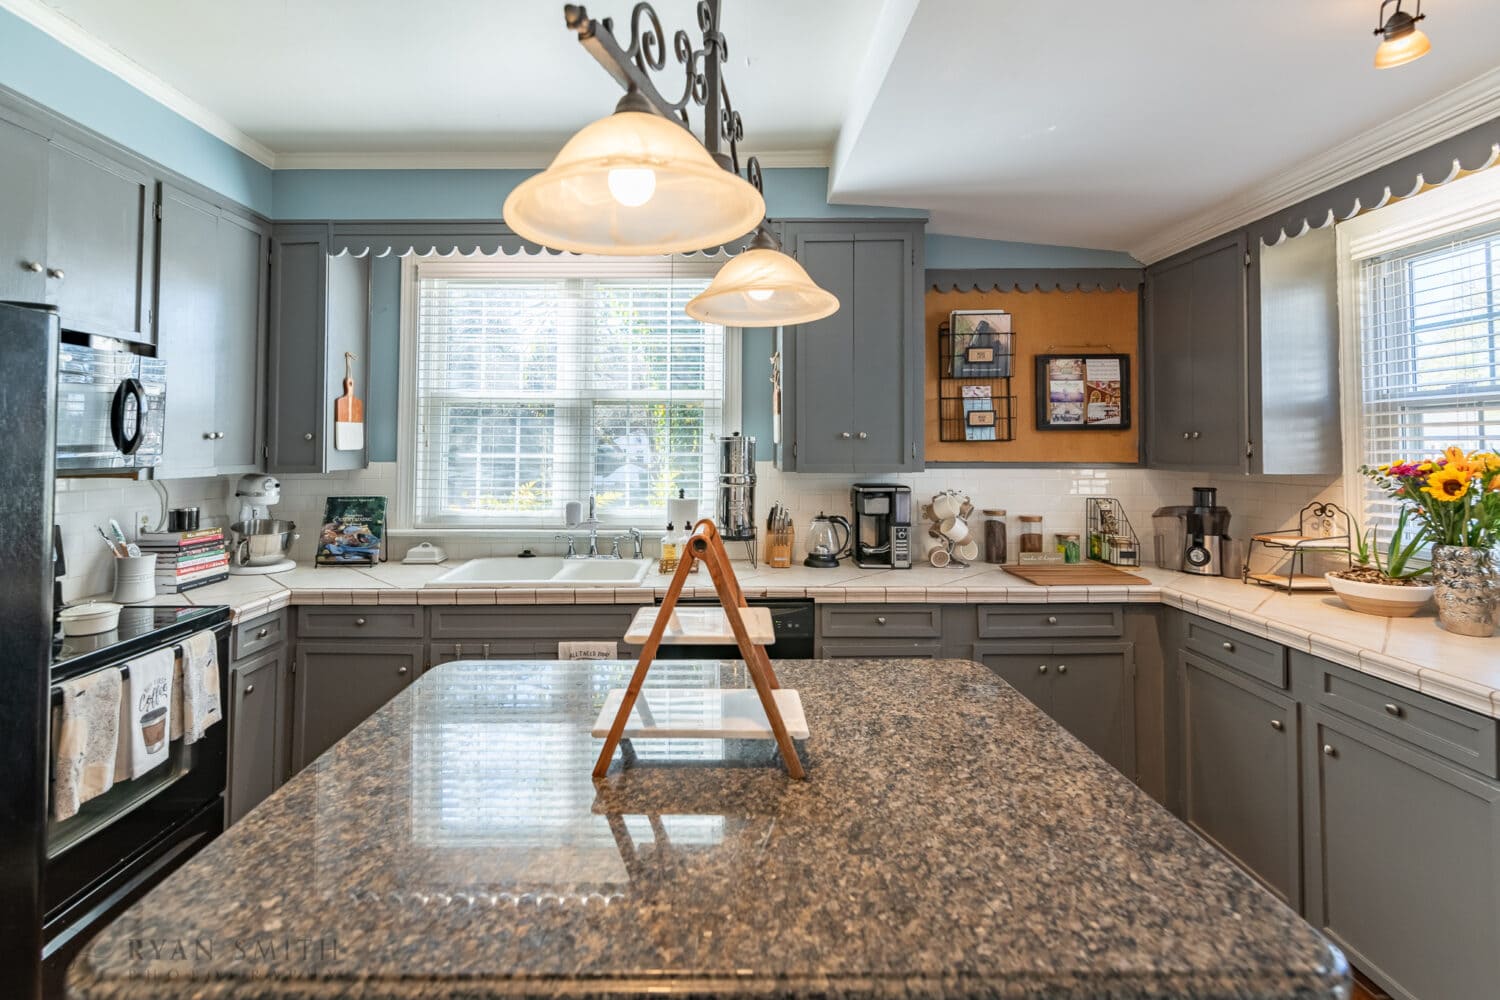
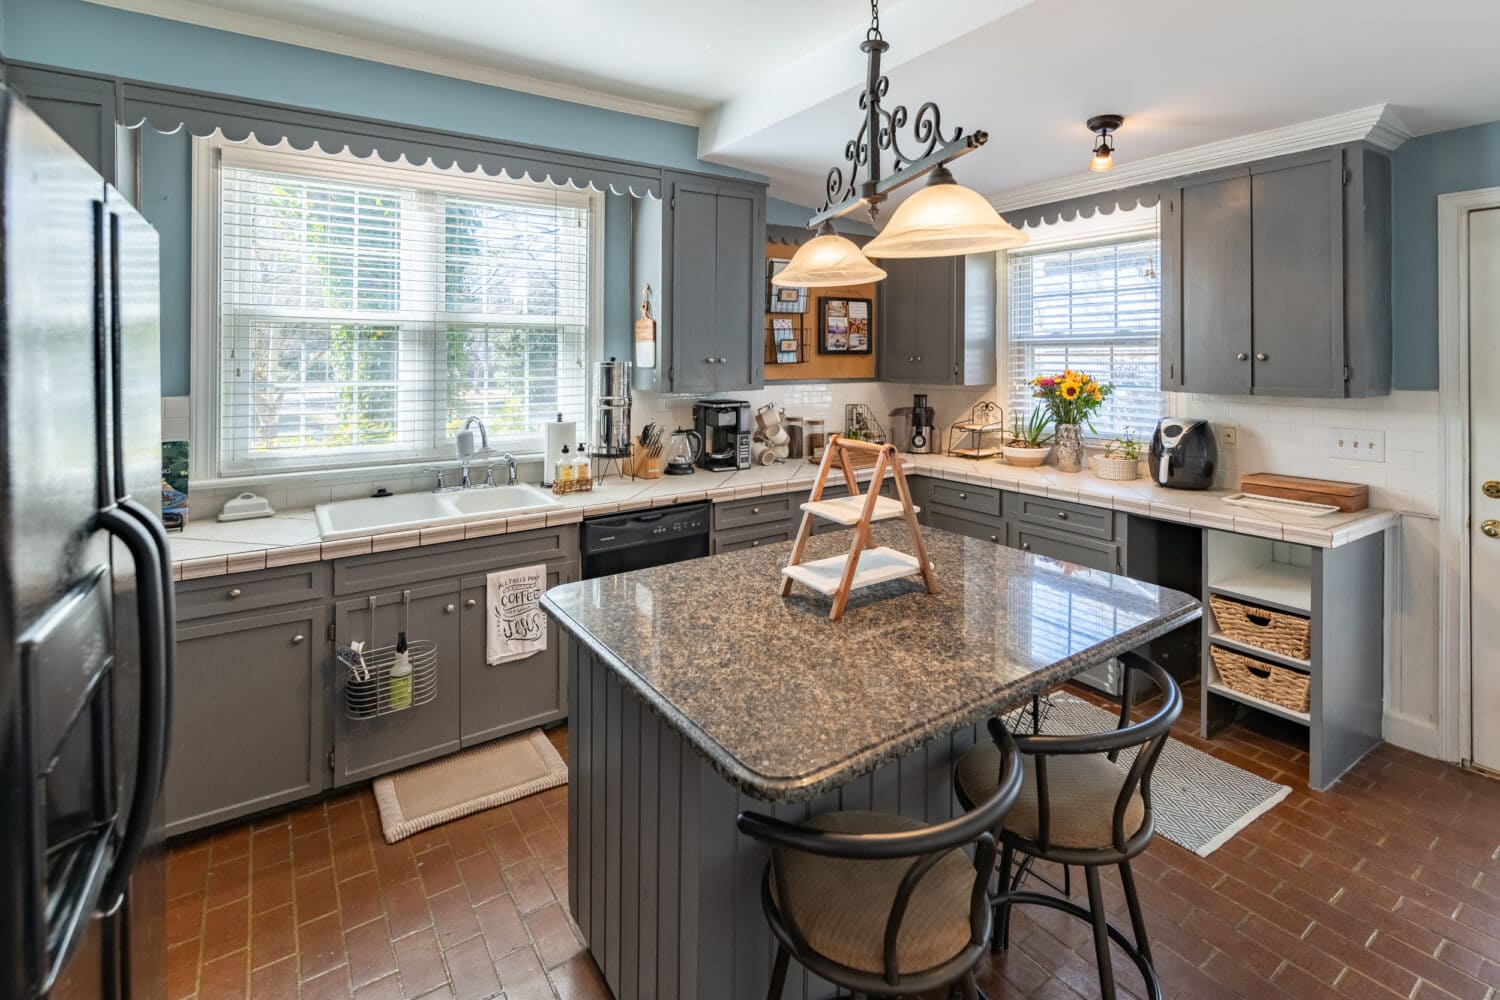
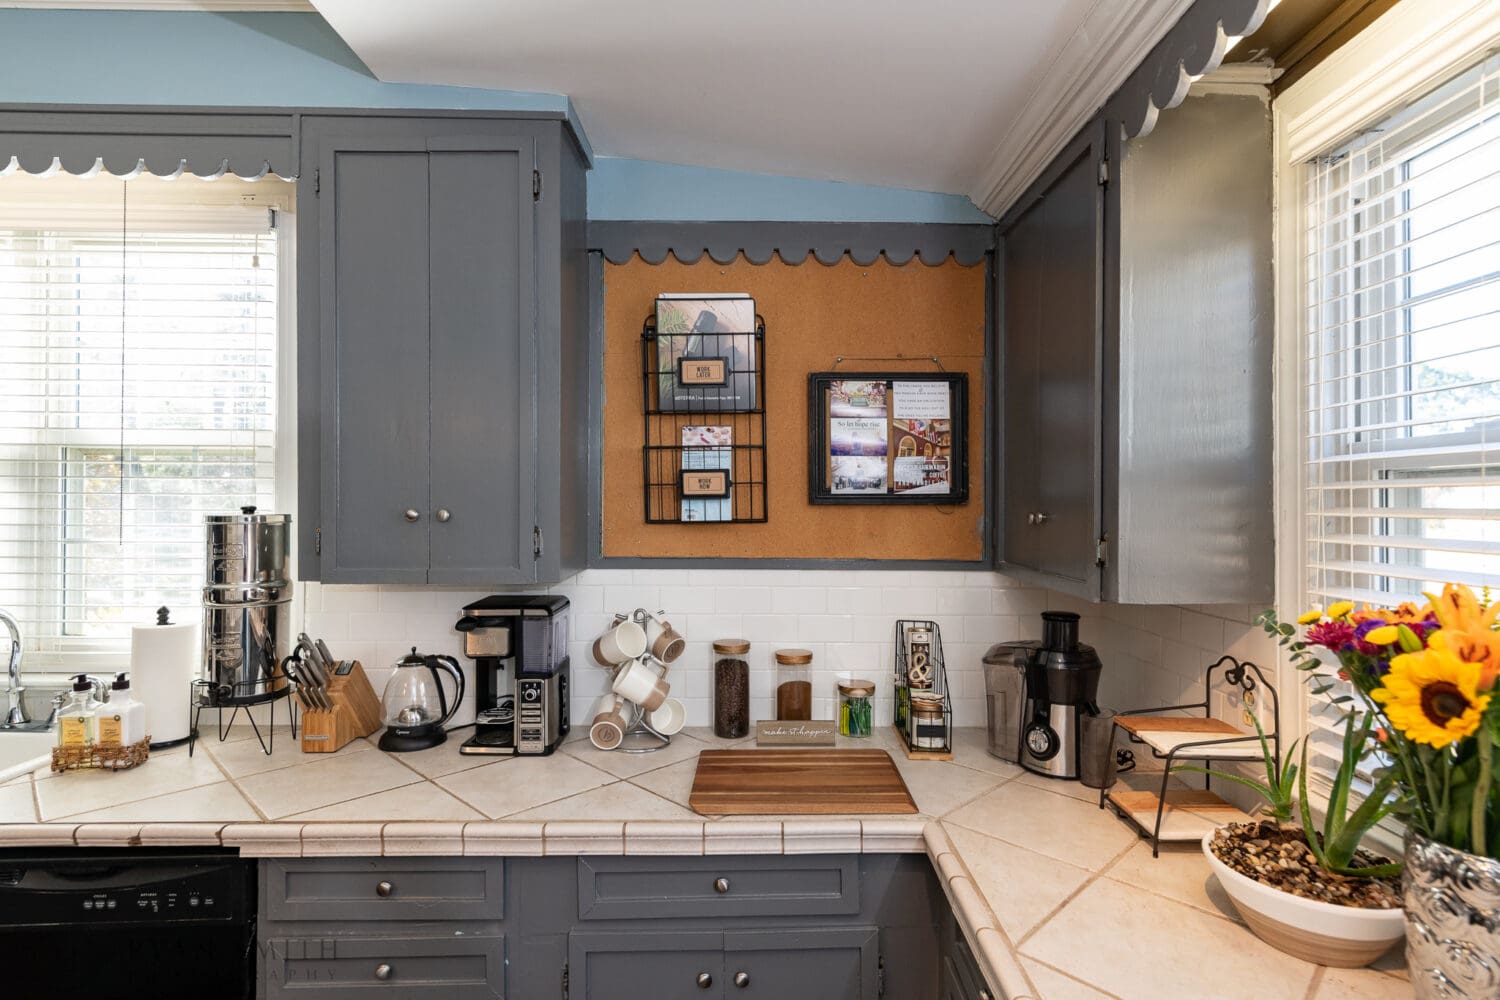
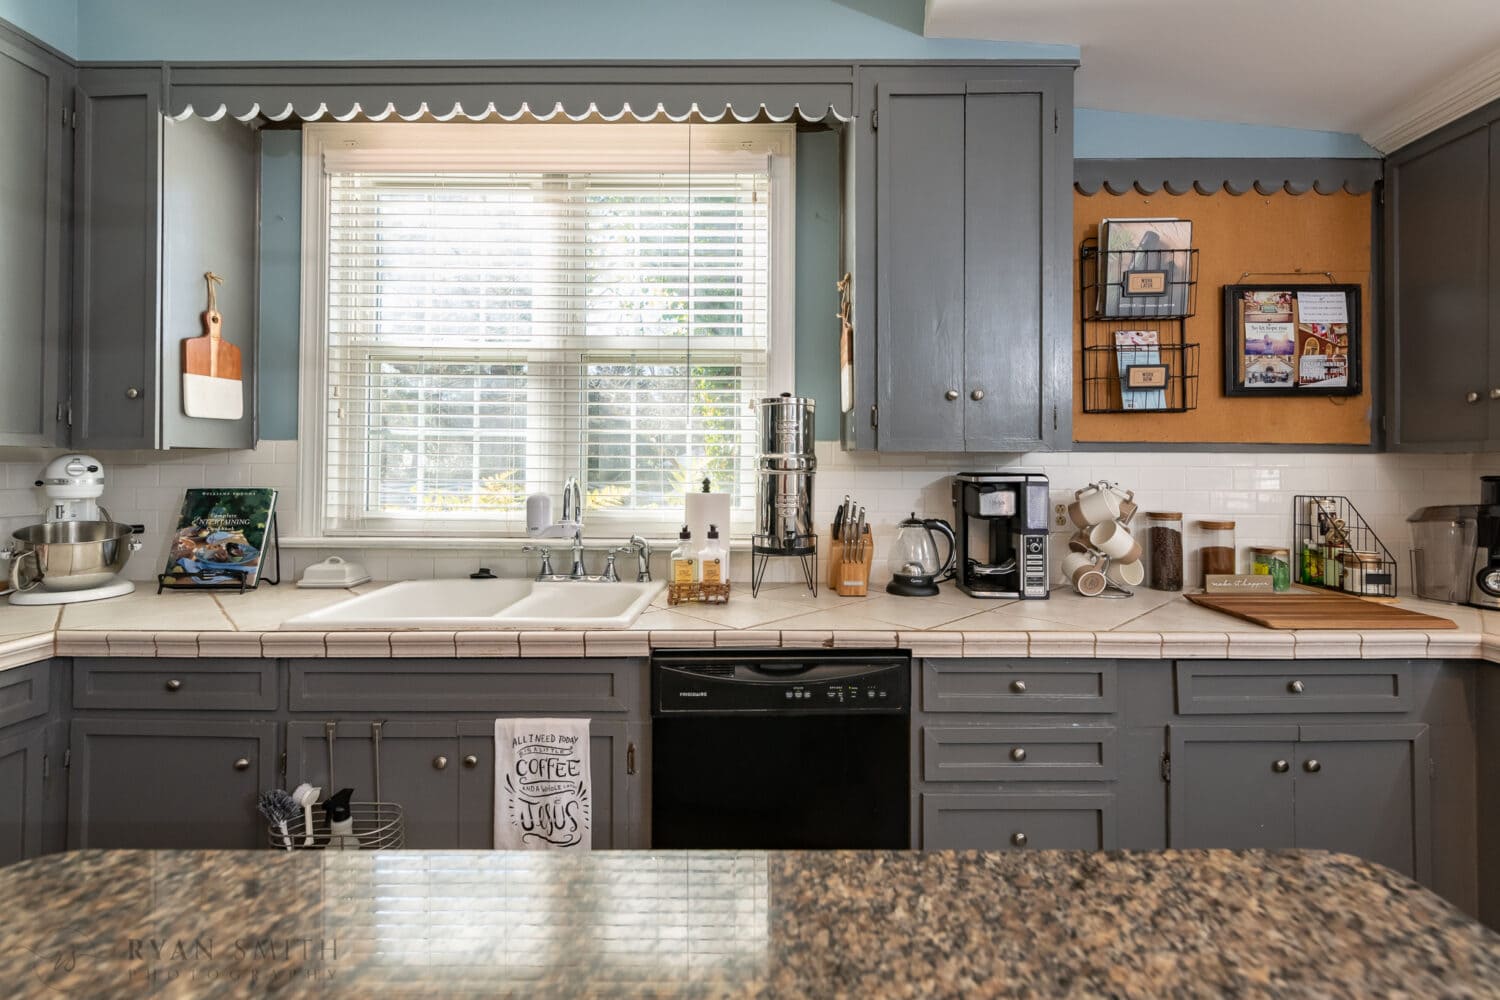
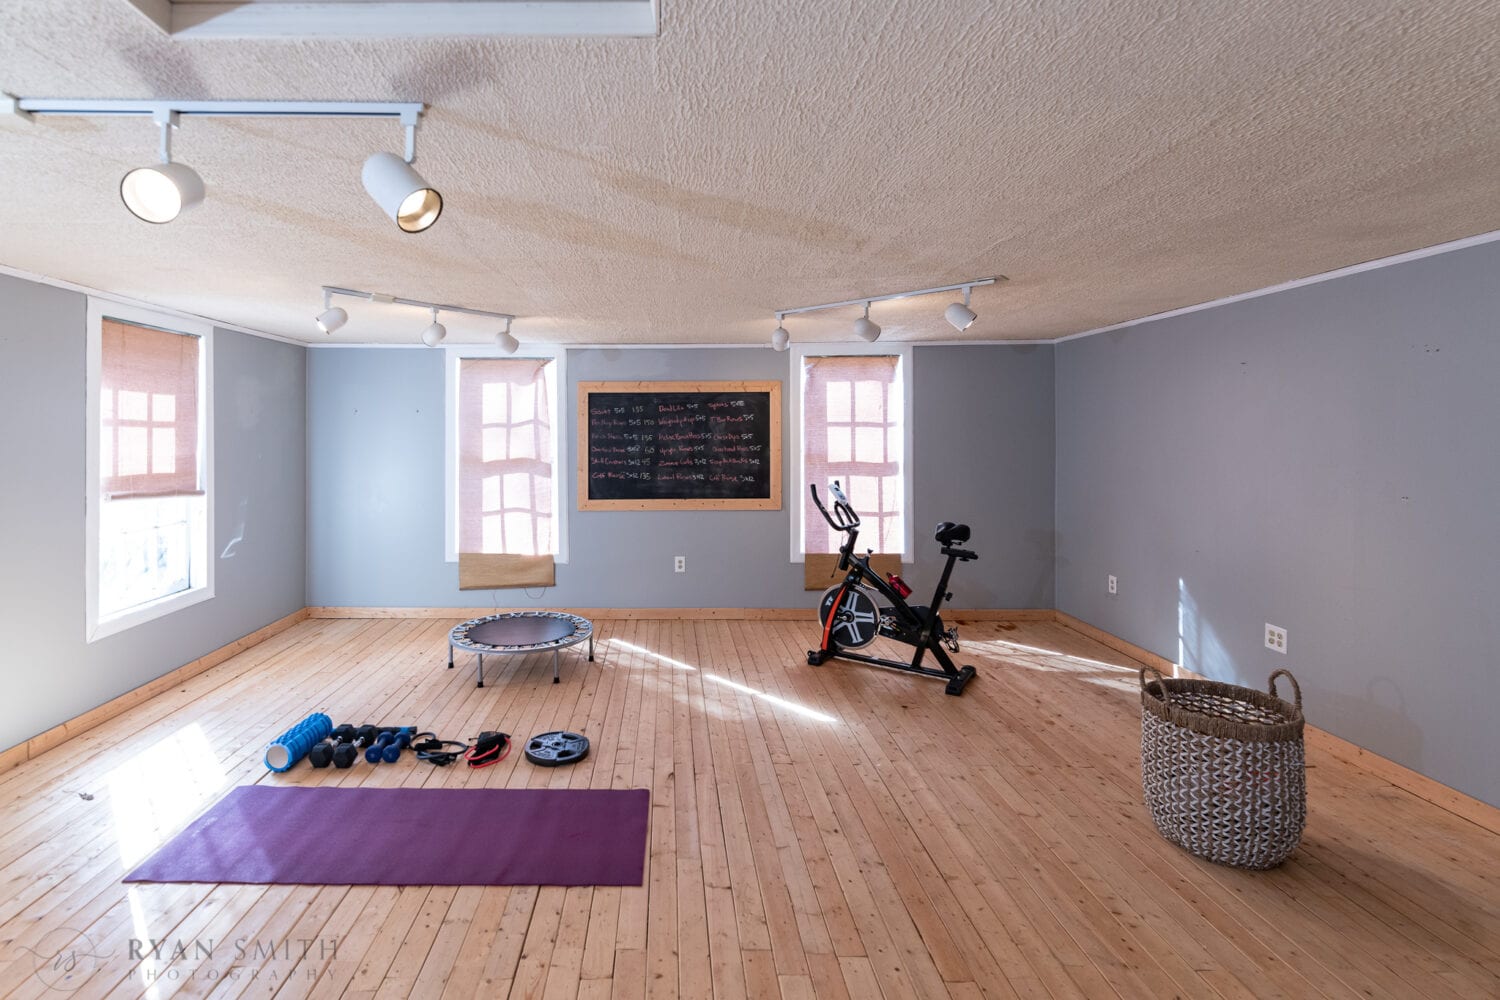
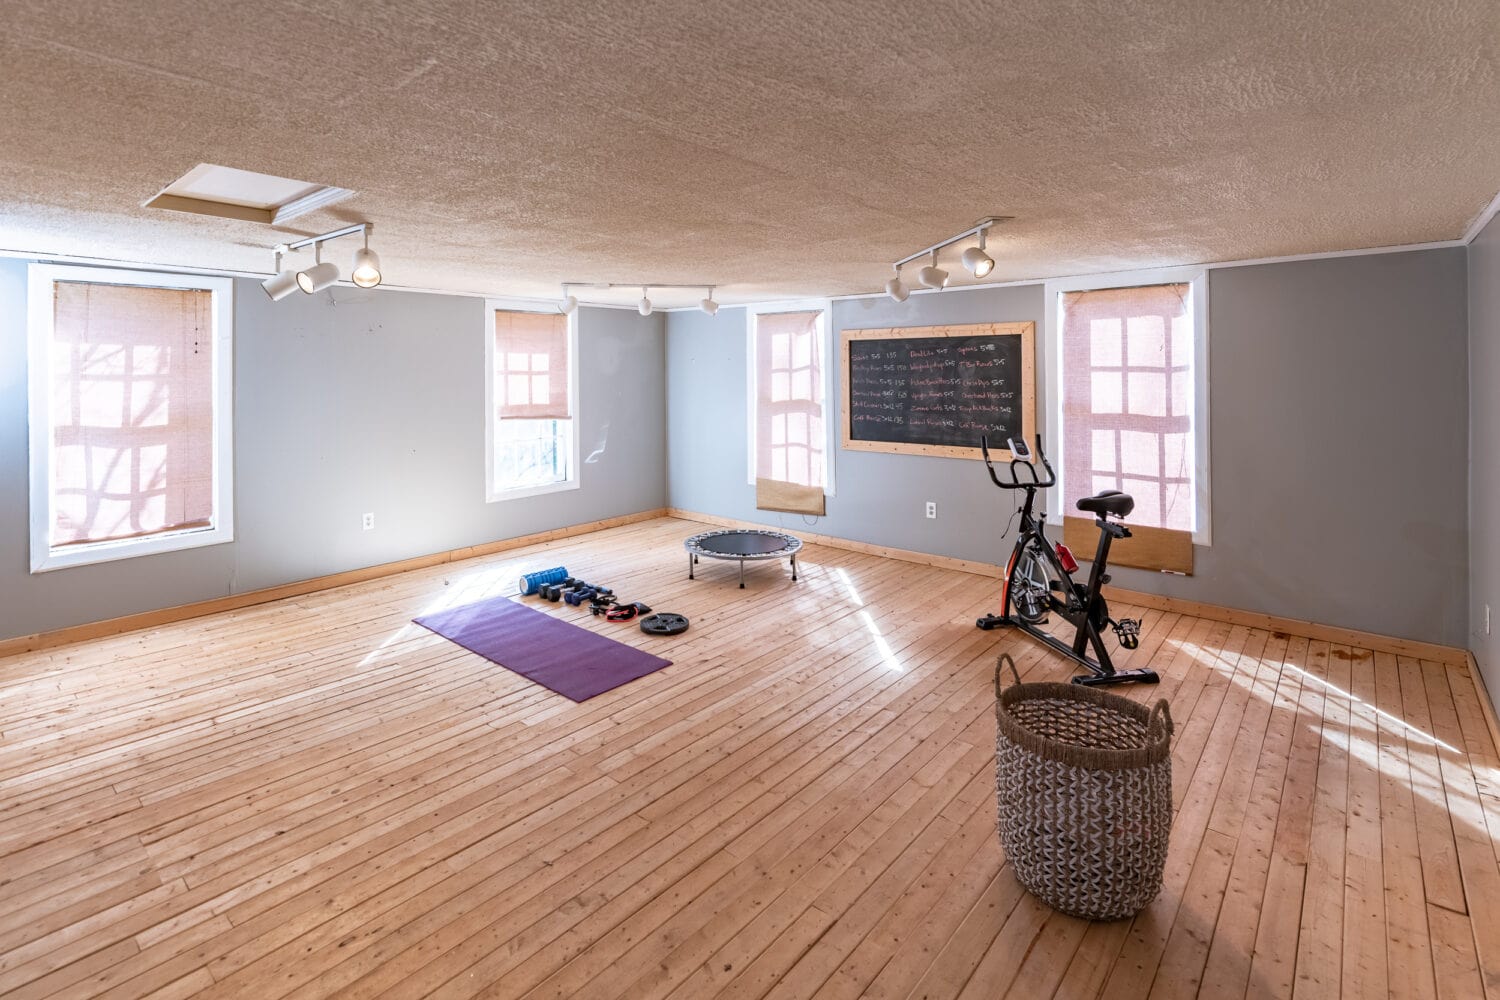
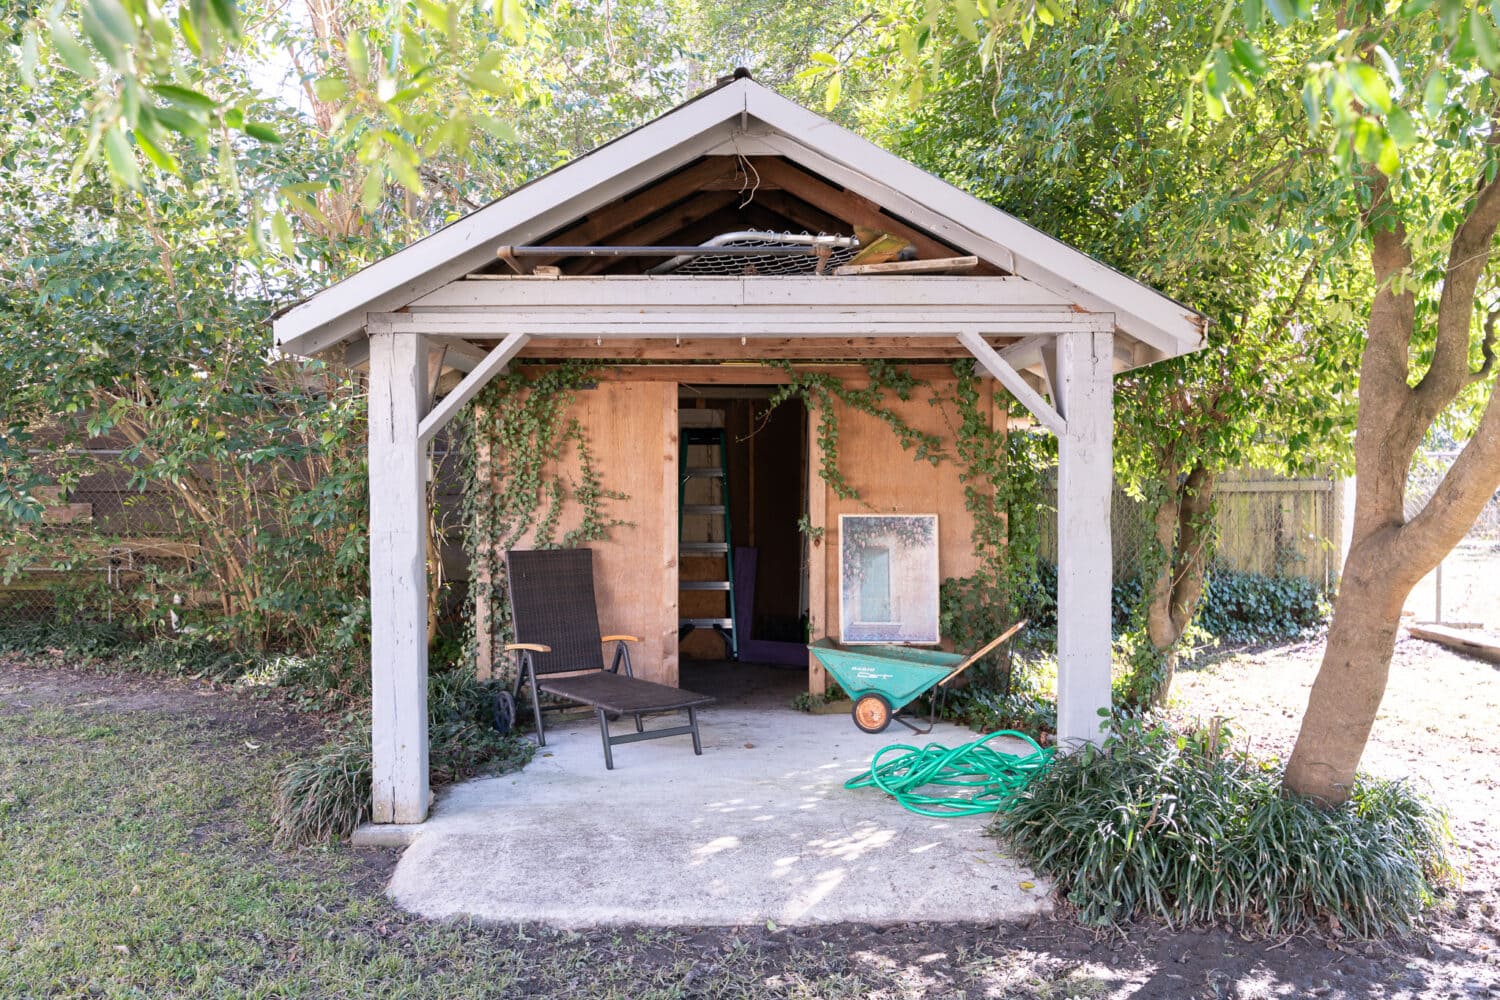
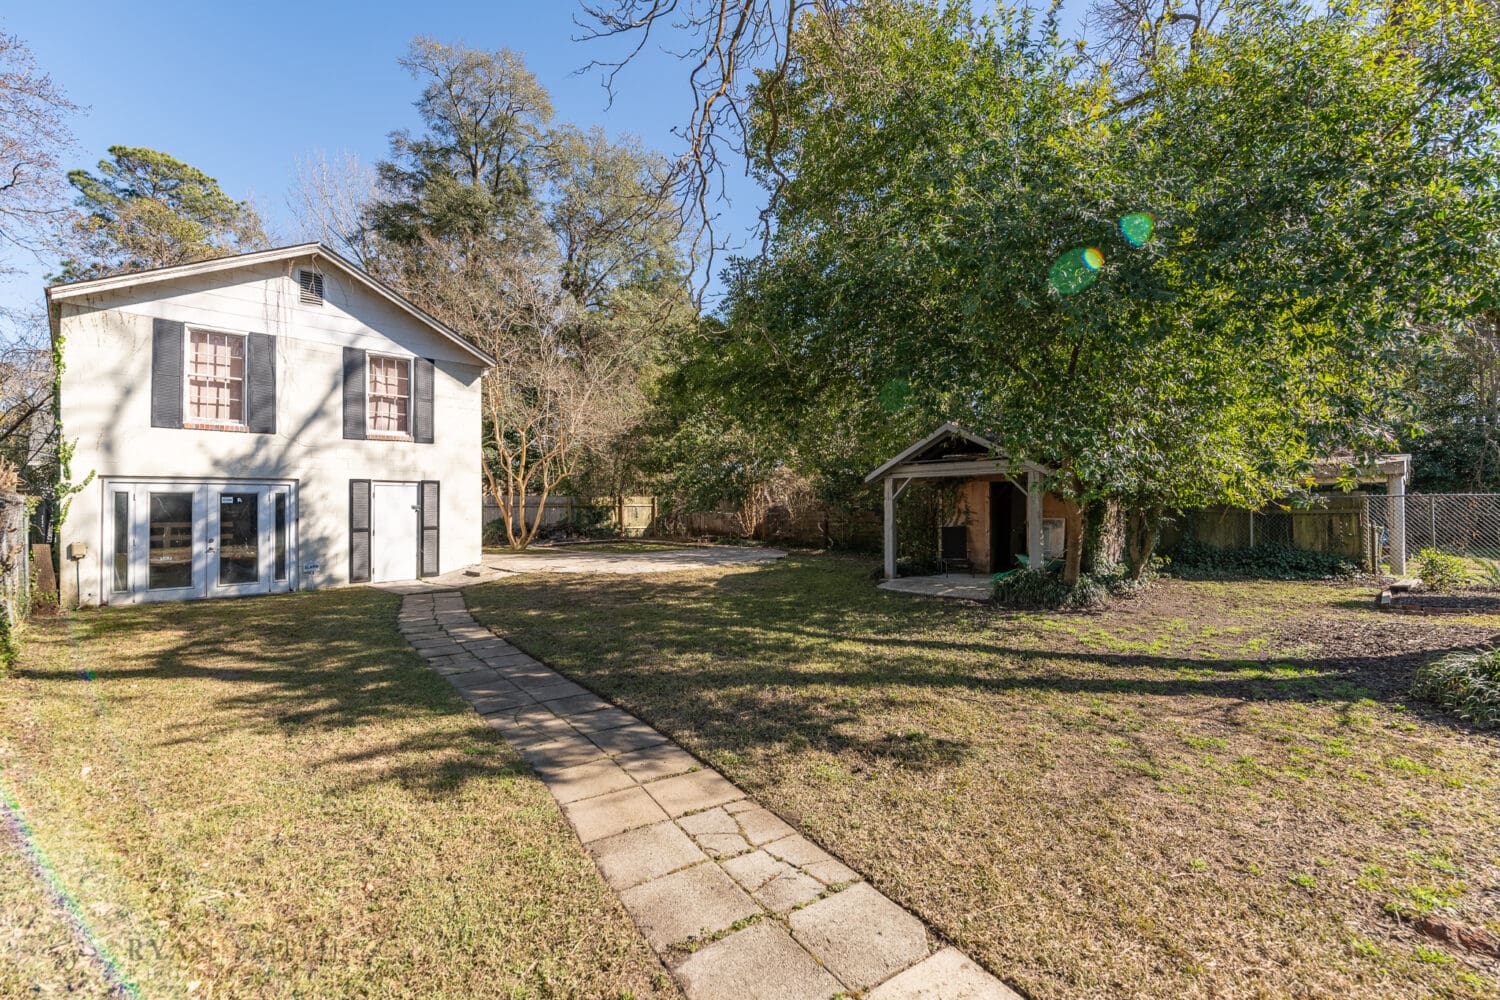
This was a great looking classic home in Florence, SC. It has lots of windows throughout the house, which gave some great light for the pictures. It was a two bedroom home with a single bathroom and a separate den and dining room. The client had the home very nicely decorated and the pictures turned out great. There was even a room above the garage in the back that was used for CrossFit and working out.
